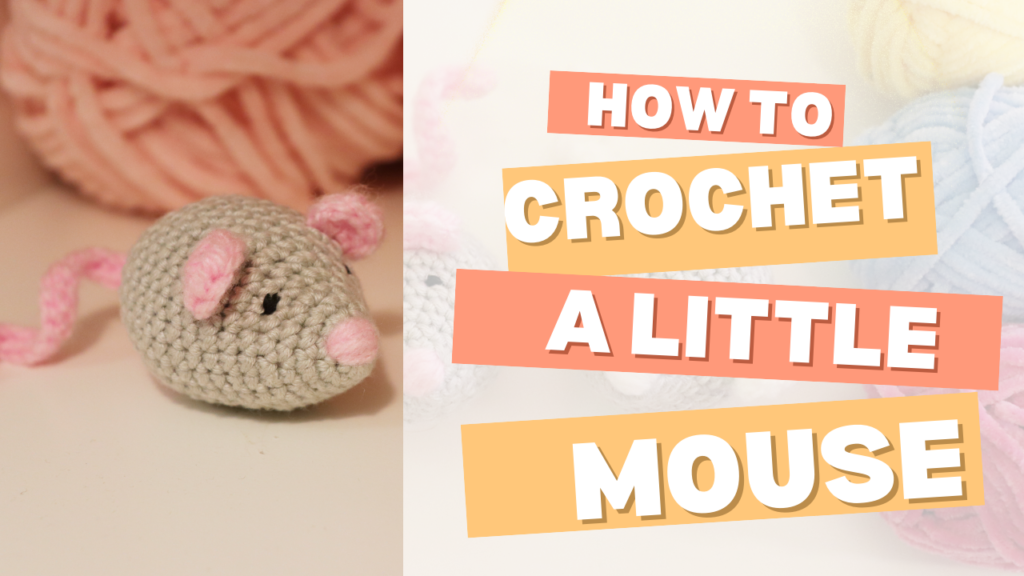
Little Mouse Easy Crochet Pattern
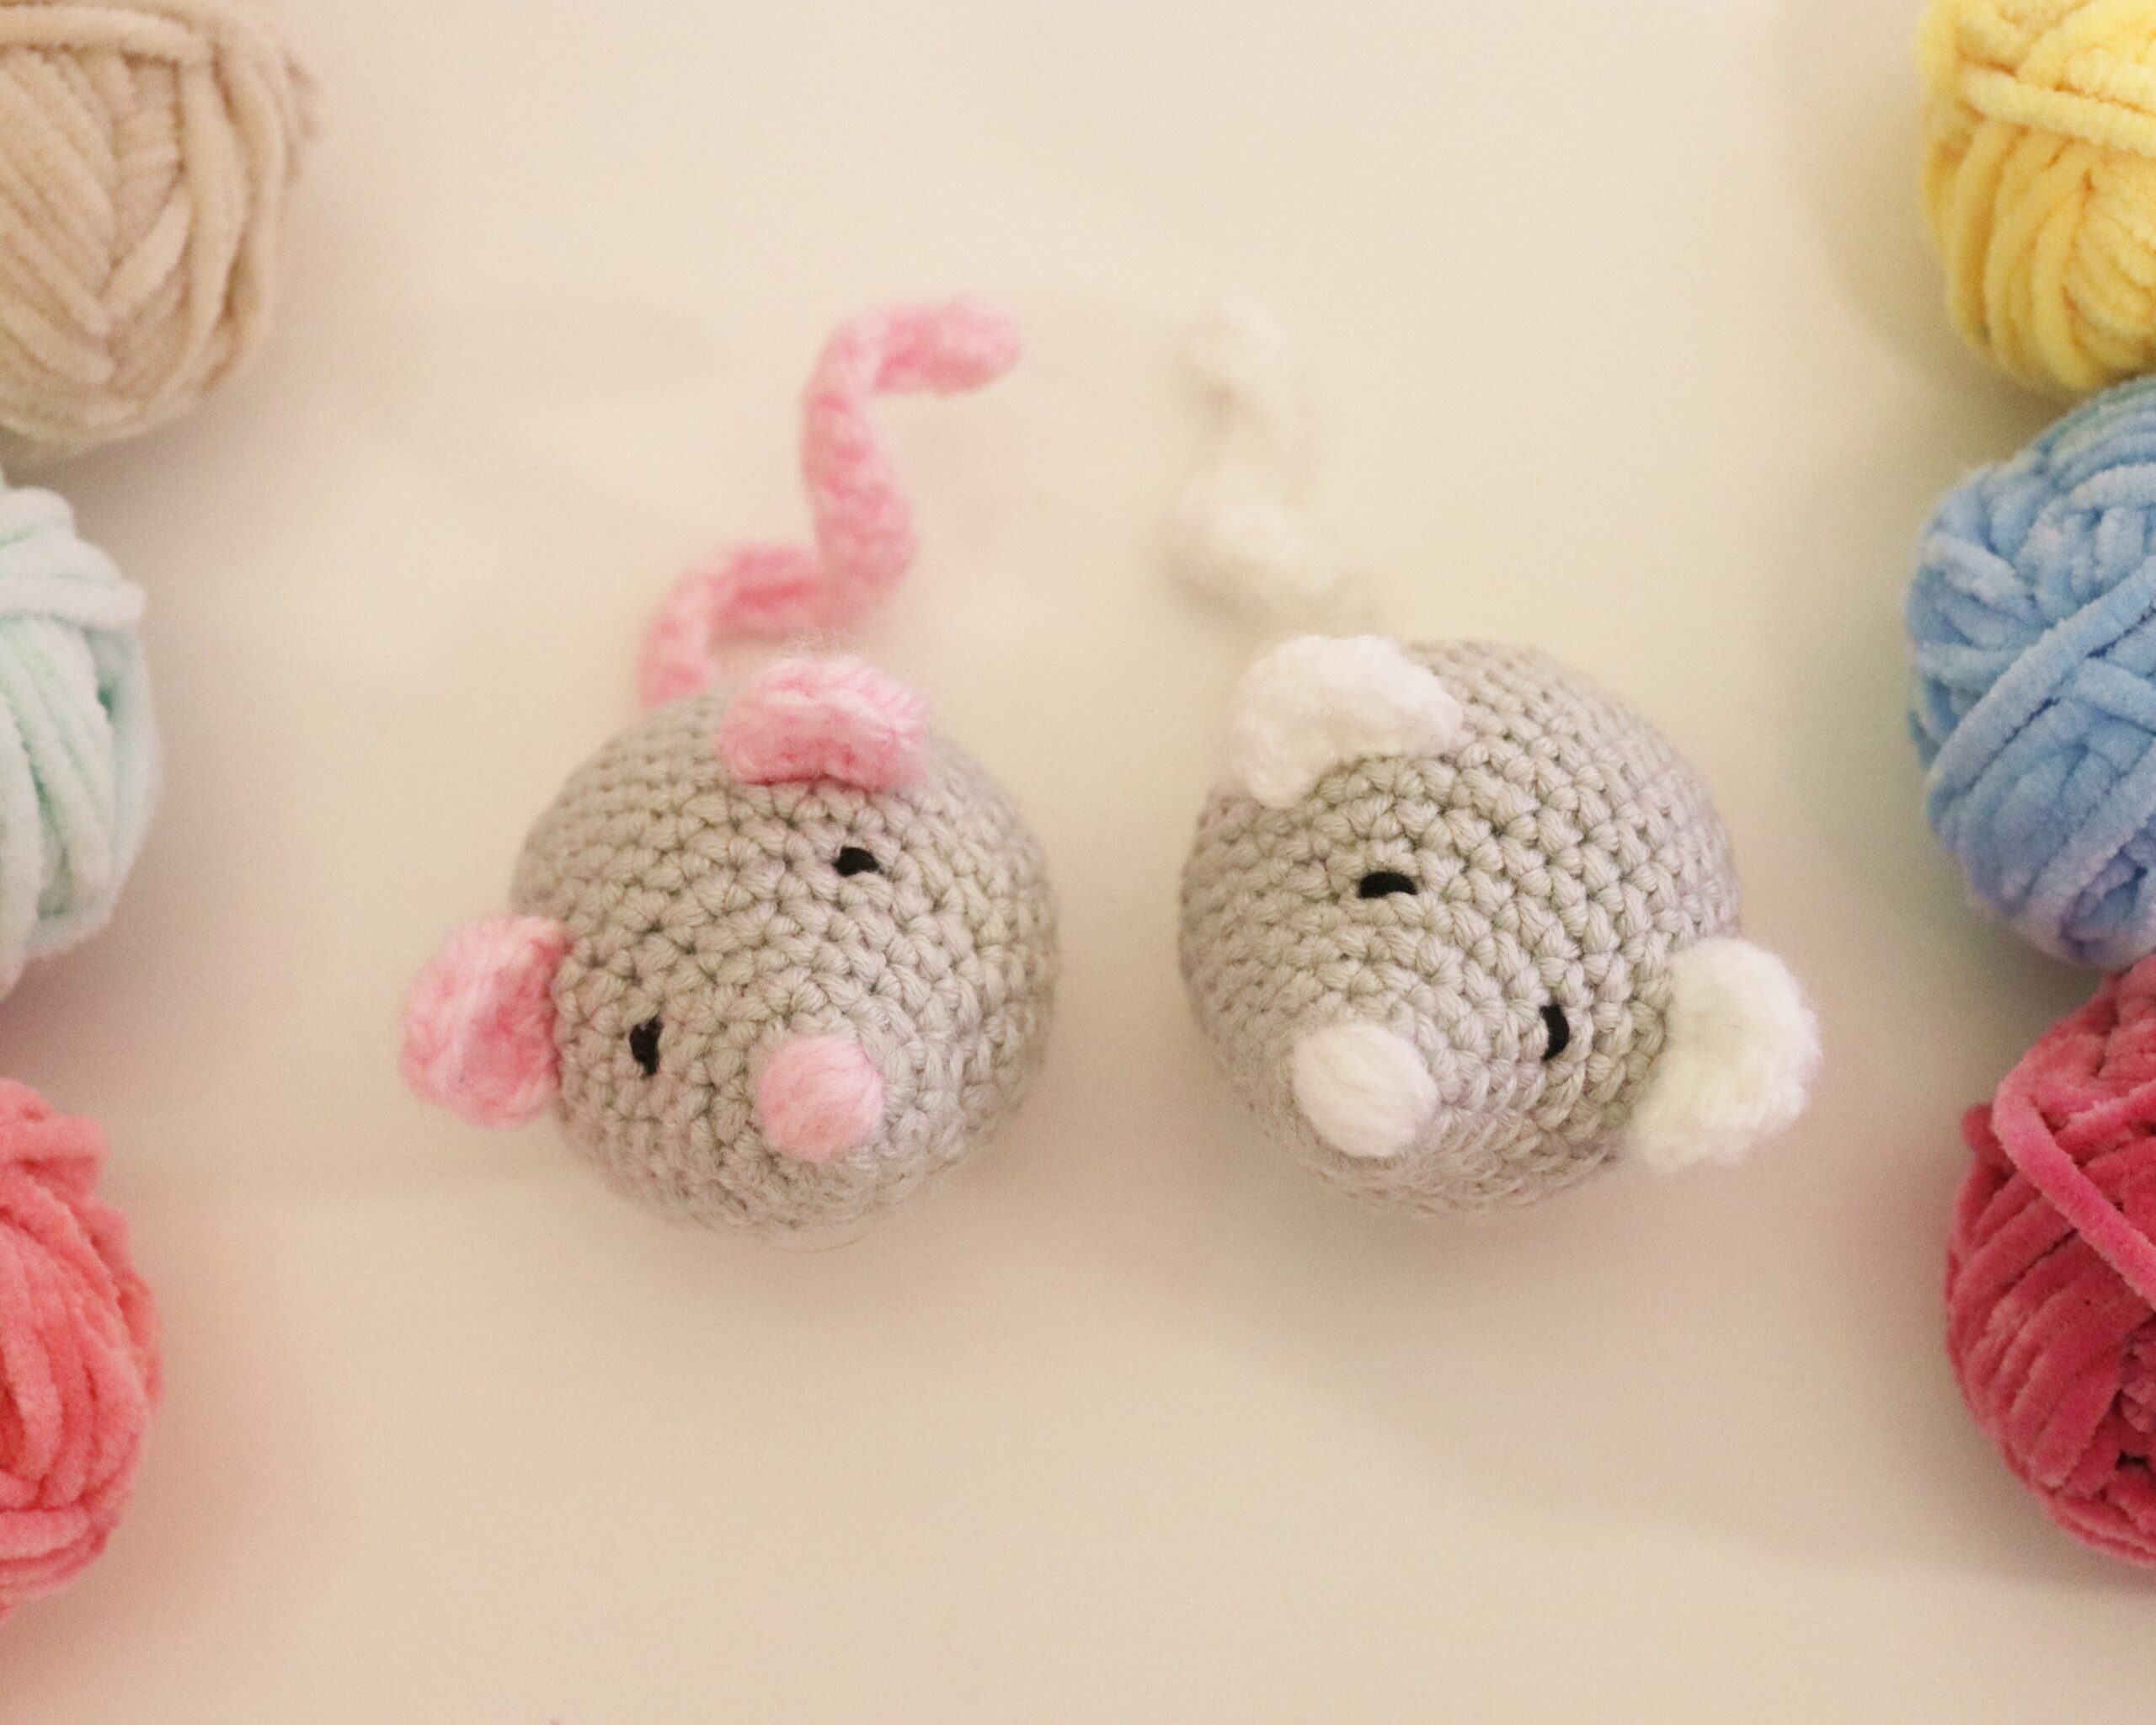
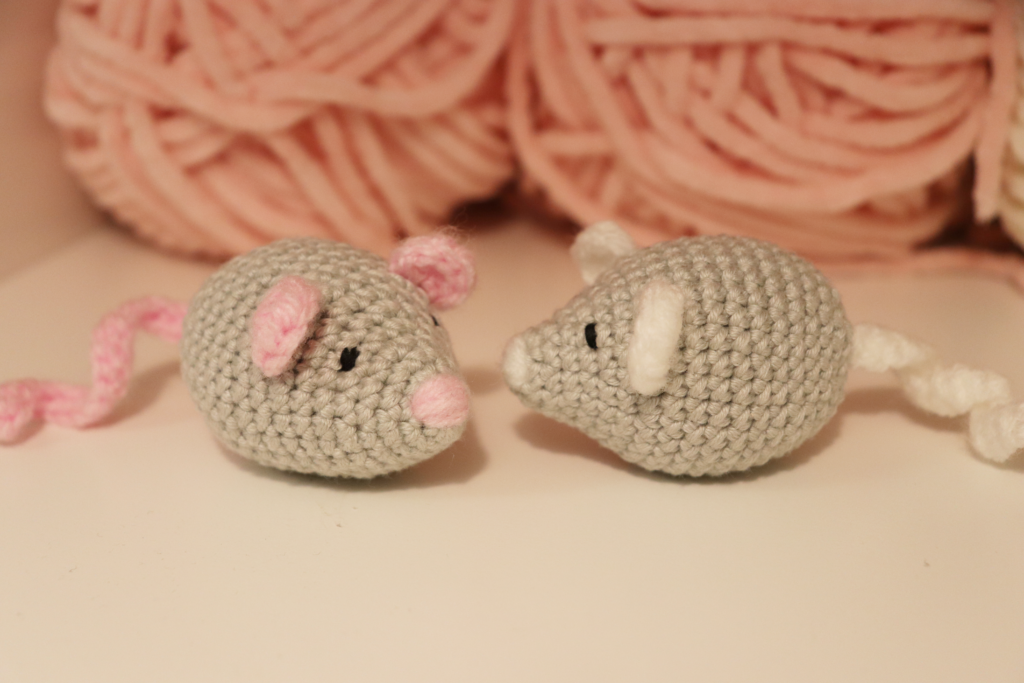
Macy & Mousie – February Couple Pals
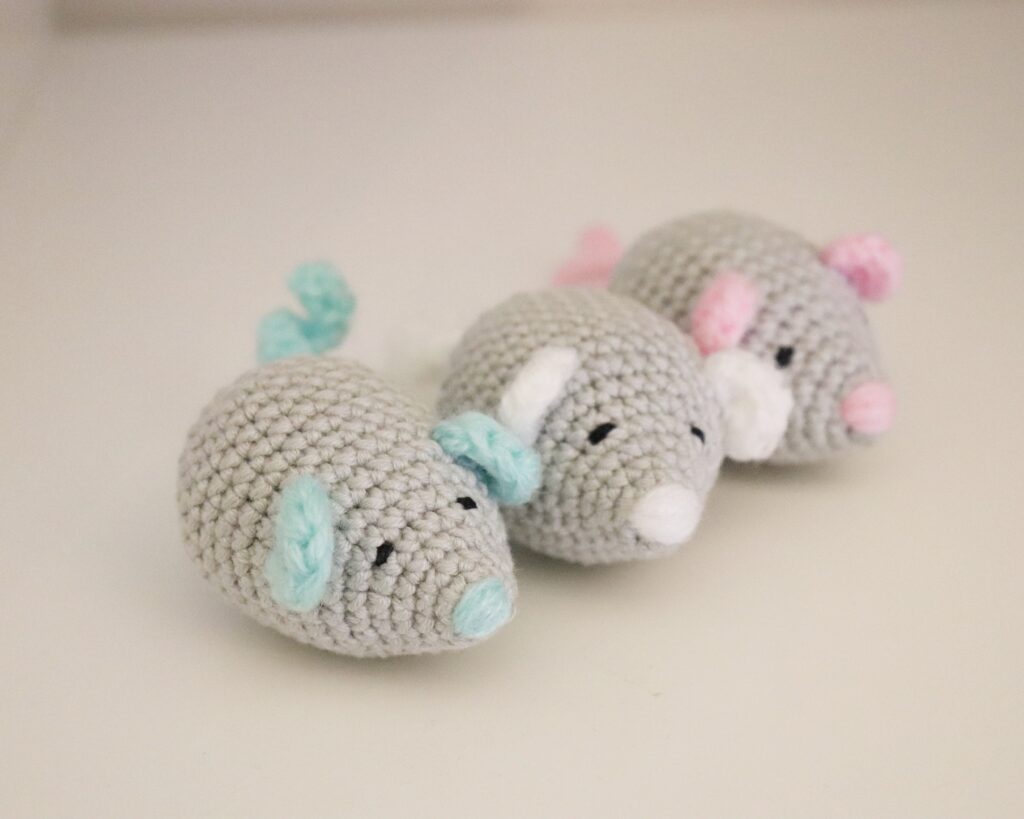
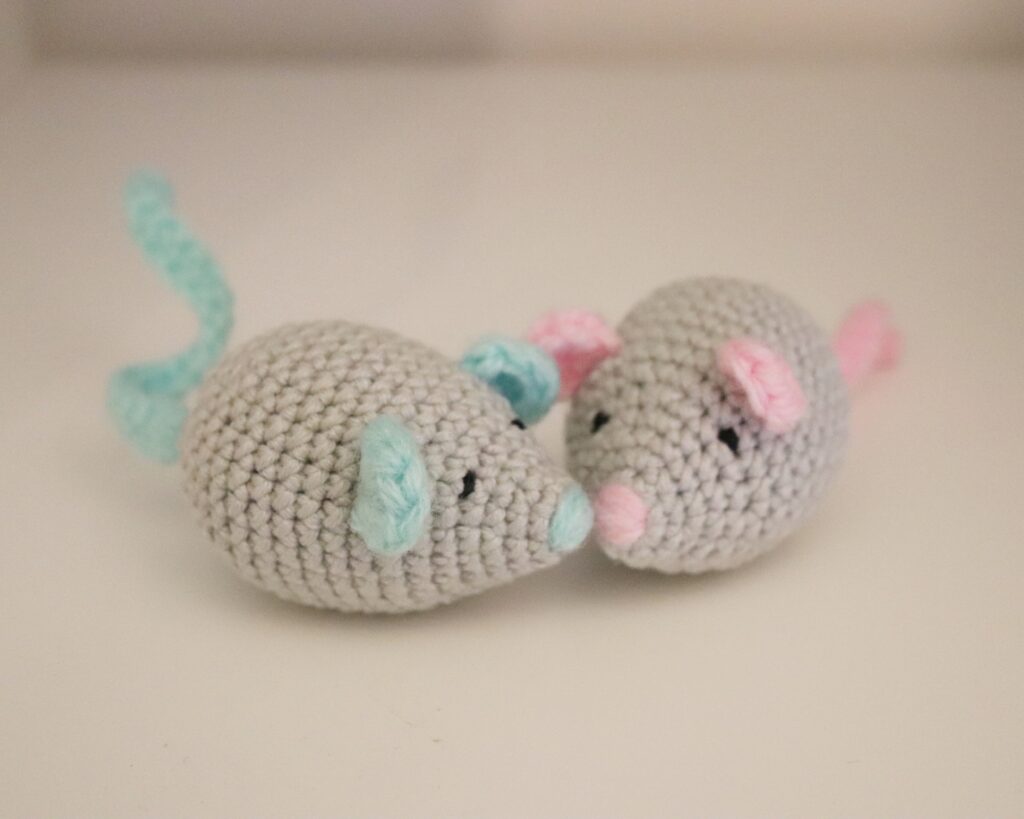
As part of the February Couple Pals collection, meet Macy and Mousie, a sweet little mice couple ready to bring charm to your next Valentine’s Day celebrations.
This design holds a special place in my heart. I originally created these tiny mice as a small thank-you gift for my husband’s coworker. He kindly helped us by making a custom 3D-printed tube that we needed for my son’s nasal suction device. It was one of those moments that beautifully highlighted how creativity exists in many forms.
While technology like 3D printing is truly impressive and incredibly useful, crochet offers its own kind of magic. With just yarn and a hook, we can build soft, tactile, three-dimensional objects completely by hand, a very cute mouse amigurumi like this pattern. There is something deeply satisfying about shaping simple strands of yarn into tiny characters full of personality.
Crochet also has a gentle relationship with the environment. Handmade pieces are created slowly, mindfully, and without industrial processes. This is not to diminish modern tools — both worlds have their strengths — but rather to celebrate the quiet beauty of handcrafted creations.
This pattern is also available on my Ravelry.
Pattern Details
- Skill level: Beginner
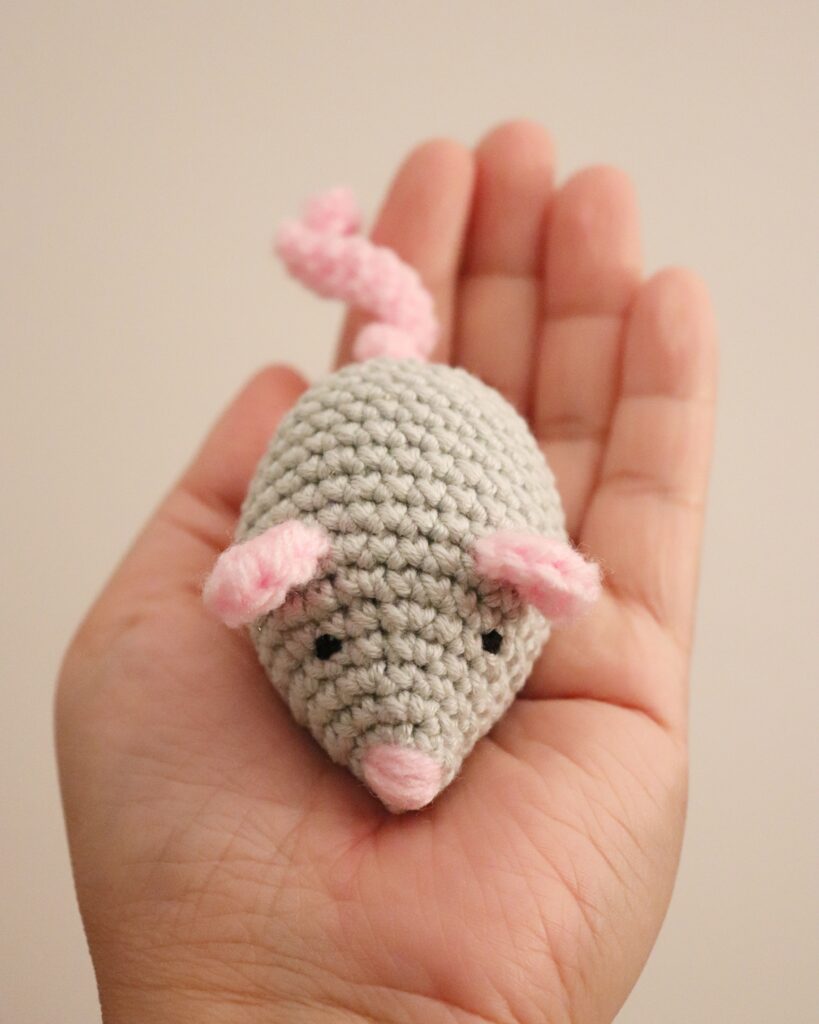
- Finished size: ~6.5 cm tall (about 2.6 inches), measured from nose to back.
- Yarn: DK-weight (light worsted) yarn
- Crochet hook: 3 mm
- Terminology: US Terms
- Construction: worked in continuous rounds, except for the tail
This tiny crochet mouse pattern is very easy to follow, suitable for beginners. who are comfortable with basic stitches and working in continuous rounds. For Macy, I used pink yarn for the nose, ears and tail details, while for Mousie, I used white yarn for the details. You can use other yarn color depending on you preference.
Yarn used in this pattern
Main yarn – Body: Kartopu Baby Natural Cotton – Grey
Secondary yarn – Details (tail, ears, nose): DK / 3 weight yarn (polyacrylic)
Yarn Alternatives
If Kartopu yarn is not easily available, the following yarns work beautifully as substitutes.
For the Body (DK / Light Worsted):
- Lion Brand Basic Stitch Anti-Pilling
- Paintbox Yarns Cotton DK
- WeCrochet Brava Worsted (slightly thicker, produces a larger mouse)
- Red Heart Soft (soft texture, widely available)
Choose smooth yarns with good stitch definition for best results.
Materials
- 3.0 mm crochet hook
- Tapestry needle
- Fiberfill stuffing
- Black sewing thread (for facial details)
- Stitch marker
- Scissors
- Bobby pins (optional, helpful for positioning pieces)
Abbreviations (US Terminology)
- sc – Single Crochet
- inc – Increase (2 sc in same stitch)
- dec – Decrease (I recommend skipping 1 stitch to decrease, but invisible decrease is also fine for this pattern)
- hdc – Half-double crochet
- sl st – Slip Stitch
- ch – Chain
Gauge
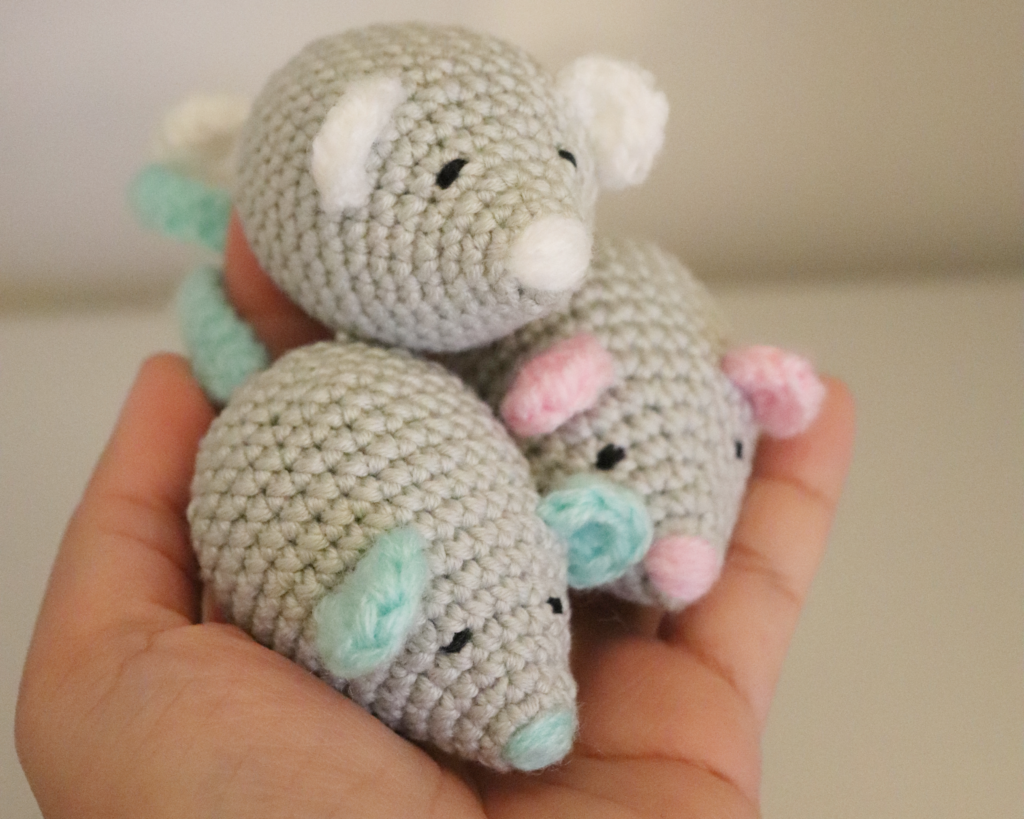
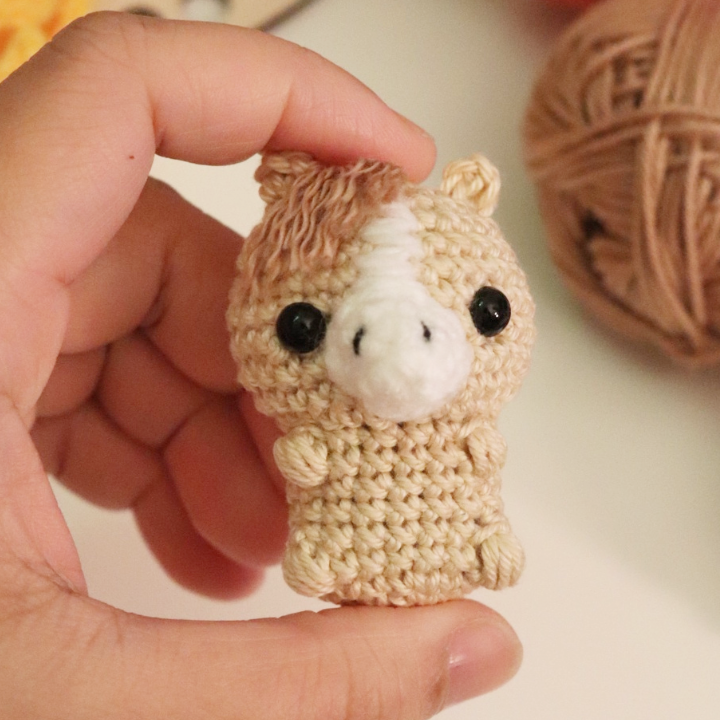
This little mouse crochet pattern is designed to be worked with even, tight stitches to achieve a neat and well-shaped finish. Gauge is not critical for this project, but consistent tension is important for best results.
You can observe in the image below how tight stitches were done.
Pattern Notes
- This pattern works in continuous rounds except that the tail has different instructions.
- Use stitch marker to mark each end of the round. The number of stitches is shown inside the parentheses (…) each round.
- […] x3 – this means that repeat the instruction inside the brackets with the number of times indicated.
- Fill in fiberfill gradually and firmly to achieve preferred shape.
- Maintain consistent tension. Adjust the hook size if needed.
- Read the pattern before starting.
Optional Feature – Catnip Pouch
If you’re making these mice for a feline friend, you can insert a small catnip pouch inside. The idea was suggested (a comment from @craftycurlyrae) on my Instagram post, and I loved it!
Thank you, @craftycurlyrae! I hope you enjoy crocheting this for your furbabies!
You can create a tiny pouch using felt fabric to securely contain the catnip before placing it inside the mouse. This keeps the filling neat and prevents loose herbs from escaping through stitches.
This step is completely optional.
Copyright
This pattern is © Woolshie. Do not copy, reproduce, or share, in partial or full, without permission. You may sell finished items in small quantities. Please credit @woolshie when posting on Instagram or Woolshie when posting on Facebook.
Let’s Begin!
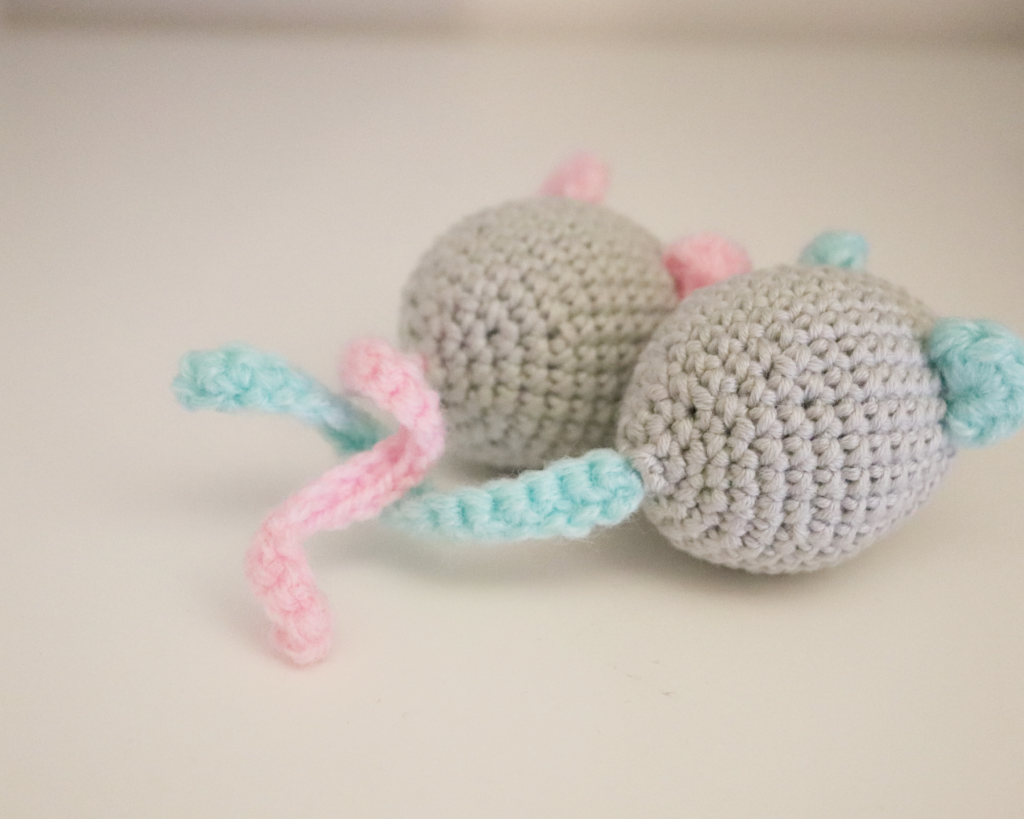
We start crocheting ears (make 2) and tail, then the body.
Ears
Make 2 using secondary yarn (I used pink yarn):
– round 1: Magic Ring of 6 HDC (6)
Cut a long yarn tail for sewing.
Tail
Use the secondary yarn (I used pink yarn)
– CH 18, 1 sc in the 2nd ch from the hook, inc on the next, [5 sc, inc] x3
Body
Use main yarn color, I used grey
– round 1: Magic Ring 6 sc (6)
– round 2: [inc, 1 sc] x3 (9)
– round 3: [1 sc, inc, 1 sc] x3 (12)
– round 4: [3 sc, inc] x3 (15)
– round 5: [2 sc, inc, 2 sc] x3 (18)
– round 6: 3 sc, [inc, 2 sc] x4, 3 sc (22)
– round 7: 5 sc, inc, 10 sc, inc, 5 sc (24)
– round 8: [3 sc, inc] x6 (30)
– rounds 9-15: Sc all around (30)
– round 16: [3 sc, dec] x6 (24)
– round 17: Sc all around (24)
As you are near to end, begin stuffing the body firmly but gently with fiberfill.
Shape as you stuff to maintain a smooth, rounded form.
You may optionally insert a catnip pouch before closing.
– round 18: [1 sc, dec, 1 sc] x6 (18)
– round 19: [1 sc, dec] x6 (12)
– round 20: [dec] x6 (6)
Fasten off and hide the yarn end.
Assembly
Nose: Use the secondary yarn (I used pink yarn)
Cut ~40 cm yarn, use tapestry needle, weave the yarn into round 1 of the body Magic Ring to form the nose. Secure and hide the yarn end inside the body.
Eyes: Take 4 strands of black sewing thread with ~40 cm long, use sewing needle, and weave the eyes between rounds 5 and 6, spacing 3 stitches apart. Tie securely and hide the ends inside the body.
Ears: Attach the ears between rounds 8 and 9 of the body, spacing 5 stitches apart. Using bobby pins first is recommended to position them before sewing. Secure and hide the yarn end inside the body.
Tail: Sew the tail at the bottom. Hide the yarn end inside the body.
Assembly Tips
- Bobby pins are very helpful when positioning ears and tail.
- Adjust before sewing to get the perfect spacing and symmetry.
- Stuff the body firmly before closing to ensure a rounded, smooth shape.
- Keep stitches tight to prevent gaps, especially if inserting a catnip pouch.
Pattern Support
If you need help or have any questions about this little mouse crochet pattern, I’m always happy to assist! You can reach me through the Contact Page.
For quick tips, feedback, or to share your creations:
- My social media profiles are open for messages
- You can join our Facebook group: WCC Woolshie Crochet Club to ask questions, discuss modifications, or share your work
Whether you choose to modify the pattern, use a different yarn weight, or adjust your hook size, I encourage you to reach out. Crochet is all about learning and enjoying the process, and I’m here to help make your experience as smooth and fun as possible.
Beginner Tips for Success
If this is one of your first crochet projects, here are some tips to help you succeed:
- Count your stitches at the end of each round to avoid mistakes.
- Use a stitch marker to keep track of round starts and ends.
- Maintain even tension and slightly tighter stitches for amigurumi.
- Take your time — small projects are perfect for practice and skill-building.
- Embrace imperfections — crochet is meant to be relaxing, and each piece you make builds confidence.
Explore More
If you enjoyed making Macy & Mousie, you may also like:
- Other beginner-friendly crochet patterns
- Free crochet projects for seasonal crochet and cozy handmade gifts
Be sure to bookmark this page or share it with fellow crocheters who love quick, charming, and enjoyable crochet projects, especially this little mouse crochet pattern.
Accessibility Statement
This pattern is written in clear, beginner-friendly language and is designed to be accessible to crocheters of all skill levels. Every instruction is carefully structured to ensure that even first-time amigurumi makers can follow along and enjoy the process.