
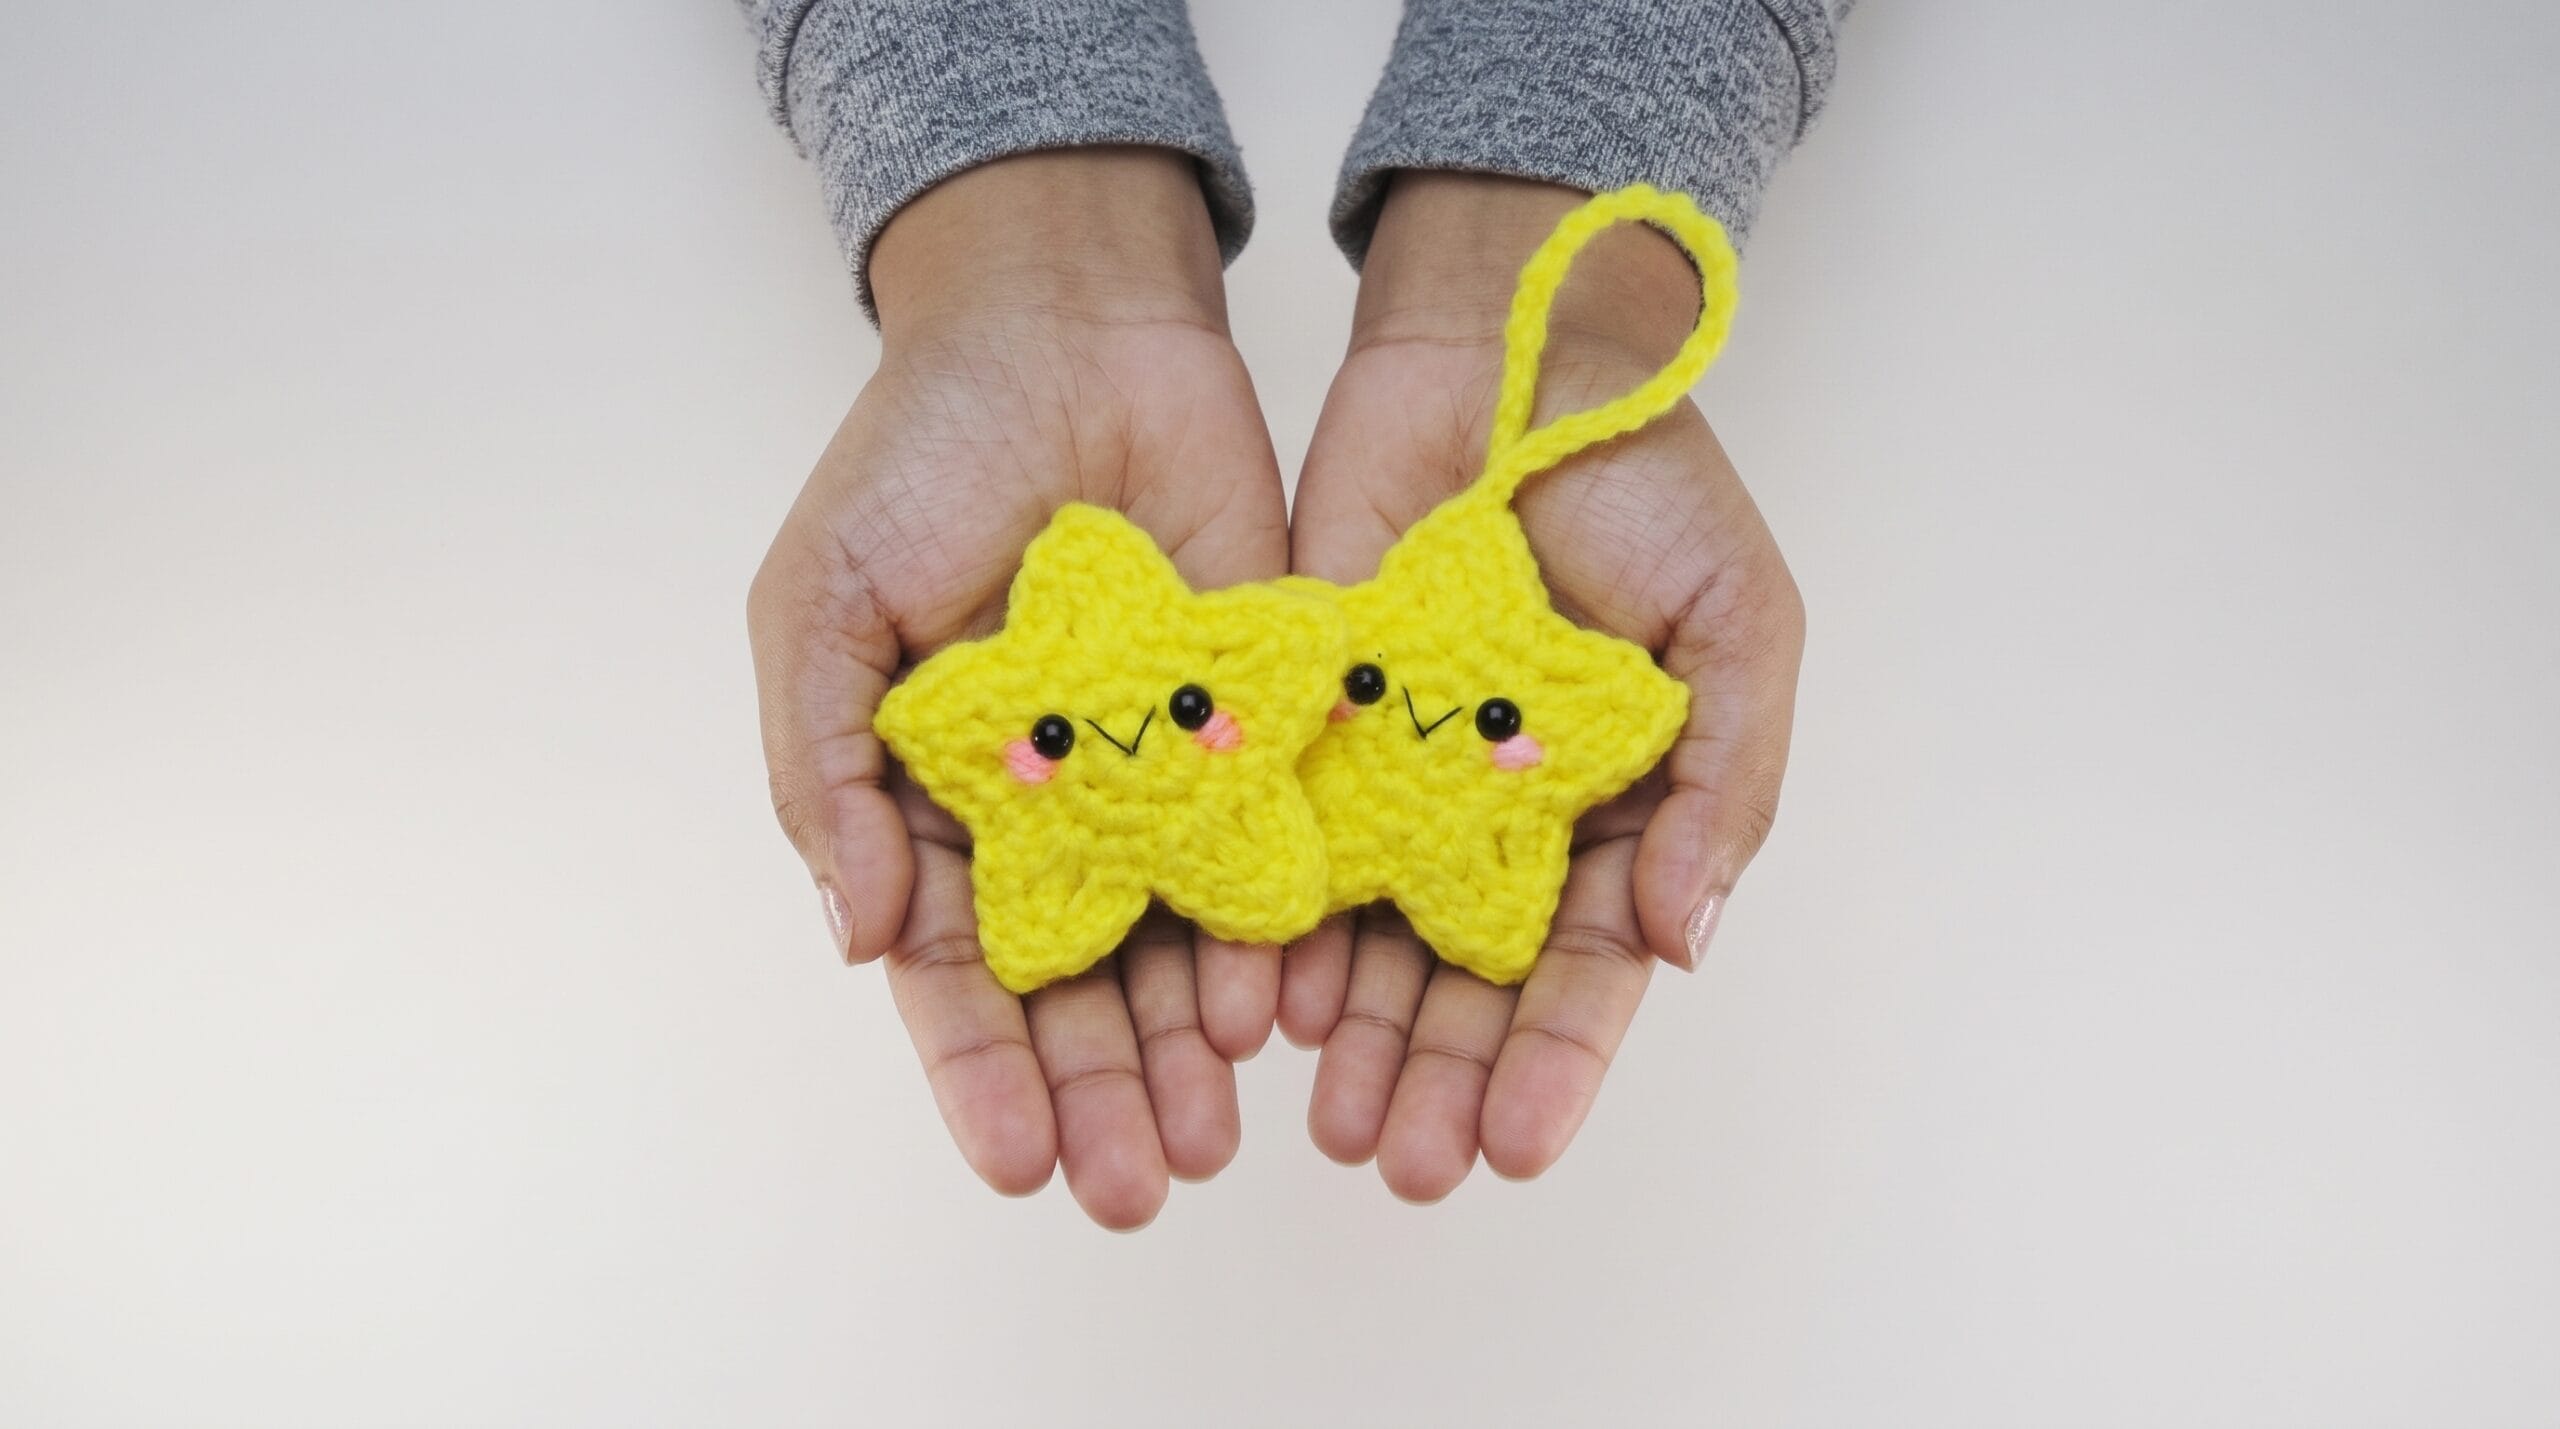
Looking for a quick, stash-busting project that adds instant charm to your space? Meet Suzie the Star! Whether you are crafting handmade Christmas ornaments, putting together a nursery garland, or making cute desk buddies for friends and coworkers, this easy crochet star pattern works up in under an hour.
Because it is made by joining two flat star panels together, it requires zero stuffing and holds its crisp five-point shape effortlessly.
Pattern Overview & Specifications
- Skill Level: Beginner
- Terms / Language: US Crochet Terminology
- Finished Size: Approximately 2.5 inches (6.35 cm) in height and width
- Gauge: Not critical for this project; simply maintain tight, even stitches so no gaps show between the panels.
Materials & Tools Needed
- Yarn: 4-ply Worsted Weight Acrylic Yarn in Yellow (main body) and a small scrap of Pink (cheek blush)
- Crochet Hook: 2.5 mm (0.10 inches) crochet hook
- Eyes: 5 mm (0.20 inches) safety eyes (amigurumi eyes with safety washers)
- Embroidery Thread: Black embroidery floss or thread (for the smile)
- Notions:
- Yarn needle (tapestry needle) for joining panels and weaving in ends
- Sewing/thread needle for the black embroidery thread
- Stitch marker (for tracking spiral rounds)
- Scissors
Crochet Abbreviations (US Terms)
- CH = Chain
- SC = Single Crochet
- SL ST = Slip Stitch
- INC = Increase Single Crochet (work 2 SC into the same stitch)
- DC = Double Crochet
- TR = Treble Crochet
- ( … ) = Total number of stitches at the end of the round
- [ … ] = Work all instructions inside the brackets into the same stitch
- * … * = Repeat the instructions between the asterisks as directed
Important Pattern Notes
- Construction: The center of the star is worked in continuous spiral rounds. Do not join at the end of Round 1.
- Tracking Rounds: Use a stitch marker to mark the last stitch of each round to stay on track and verify your stitch counts.
- Assembly: You will crochet 2 identical star panels and whipstitch or mattress-stitch them together back-to-back.
- Customizing Size: Using a different yarn weight and hook size will change the final dimensions, though the pattern proportions will remain the same.
Written Crochet Pattern
Part 1: Star Body (Make 2 Panels)
Using Yellow yarn and your 2.5 mm (0.10 inches) crochet hook, start with a Magic Ring.
- Round 1: Work 8 SC into the Magic Ring. (8)
- Round 2: INC in each stitch around. (16)
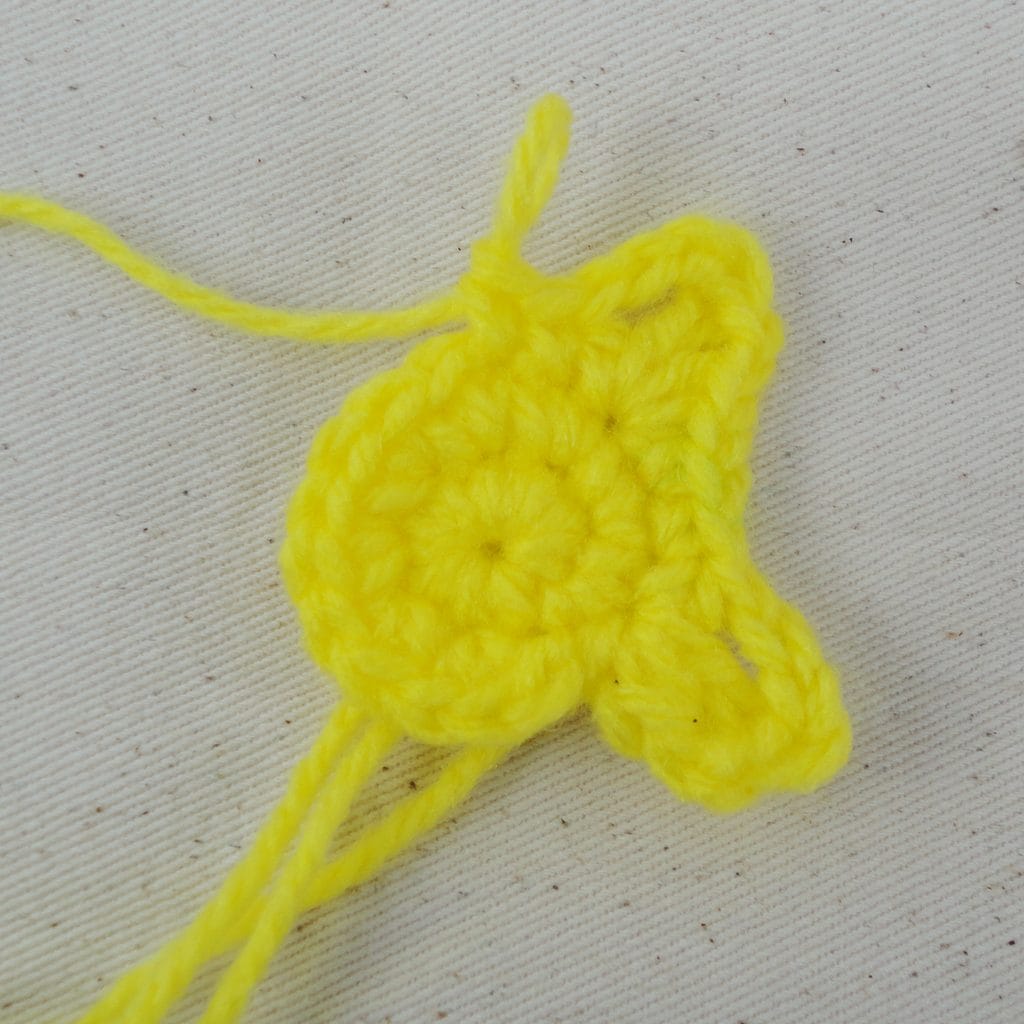
- Transition Note: SL ST into the next stitch, cut the yarn, and fasten off. Re-attach the same yellow yarn in the stitch right after the SL ST to begin Round 3. Ignore the slip stitch when working the end of Round 3.
Part 2: Star’s Rays (Points)
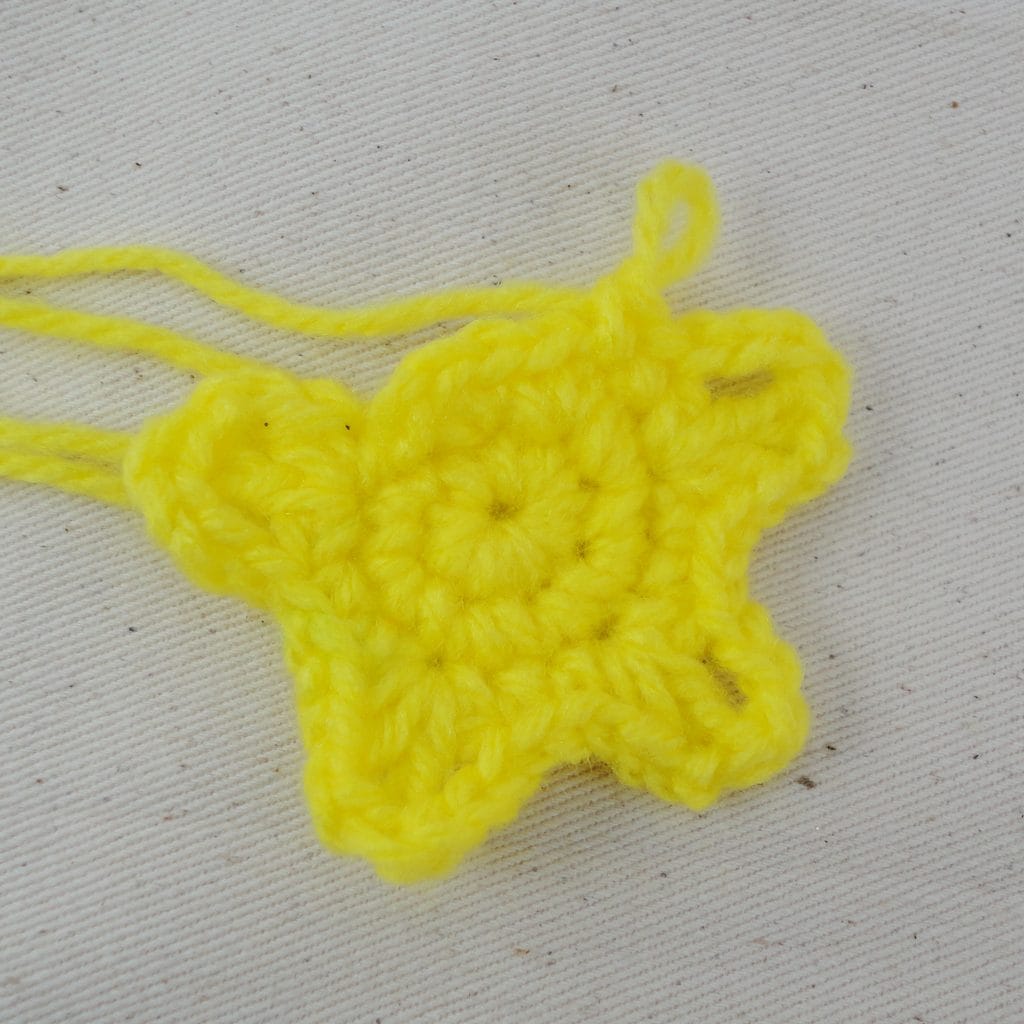
- Round 3: *In the same stitch work [1 SC, 1 DC, 2 CH, 1 TR, 2 CH, 1 DC], then work 2 SC (one in each of the next 2 stitches)*. Repeat from * to * 5 times total, ignoring the previous SL ST. (45)
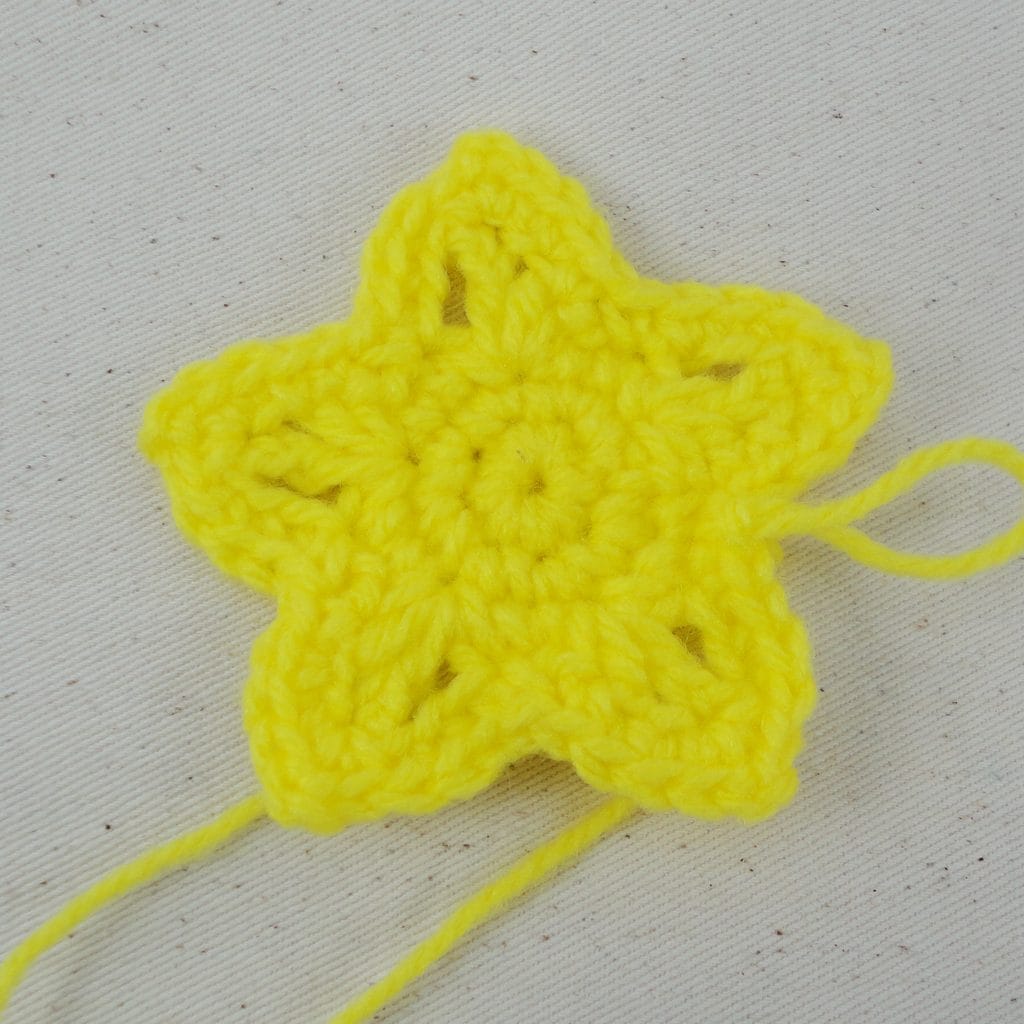
- Round 4: Skip 1 stitch. *Work 3 SC, then work [1 SC, 2 CH, 1 SC] around the post of the treble crochet (TR) from the previous round, work 4 SC, skip 2 stitches*. Repeat from * to * 5 times total, then SL ST to finish. (55)
Finishing the Panels:
- First Star Panel: Cut a long yarn tail measuring approximately 1/2 yard (18 inches / 45.7 cm) for sewing later, then fasten off.
- Second Star Panel: Fasten off with a short tail and weave in the end neatly on the wrong side (no long tail needed).
Part 3: Facial Details (Front Panel Only)
Before sewing the two panels together, add Suzie’s face to the right side of one star panel:
- Safety Eyes: Insert the 5 mm (0.20 inches) safety eyes near the center of the star (around Round 2), spacing them evenly apart, and secure the safety locks on the back.
- Mouth: Thread your sewing needle with black thread and stitch a small “V” shape centered right between the two eyes. Tie off securely on the back side.
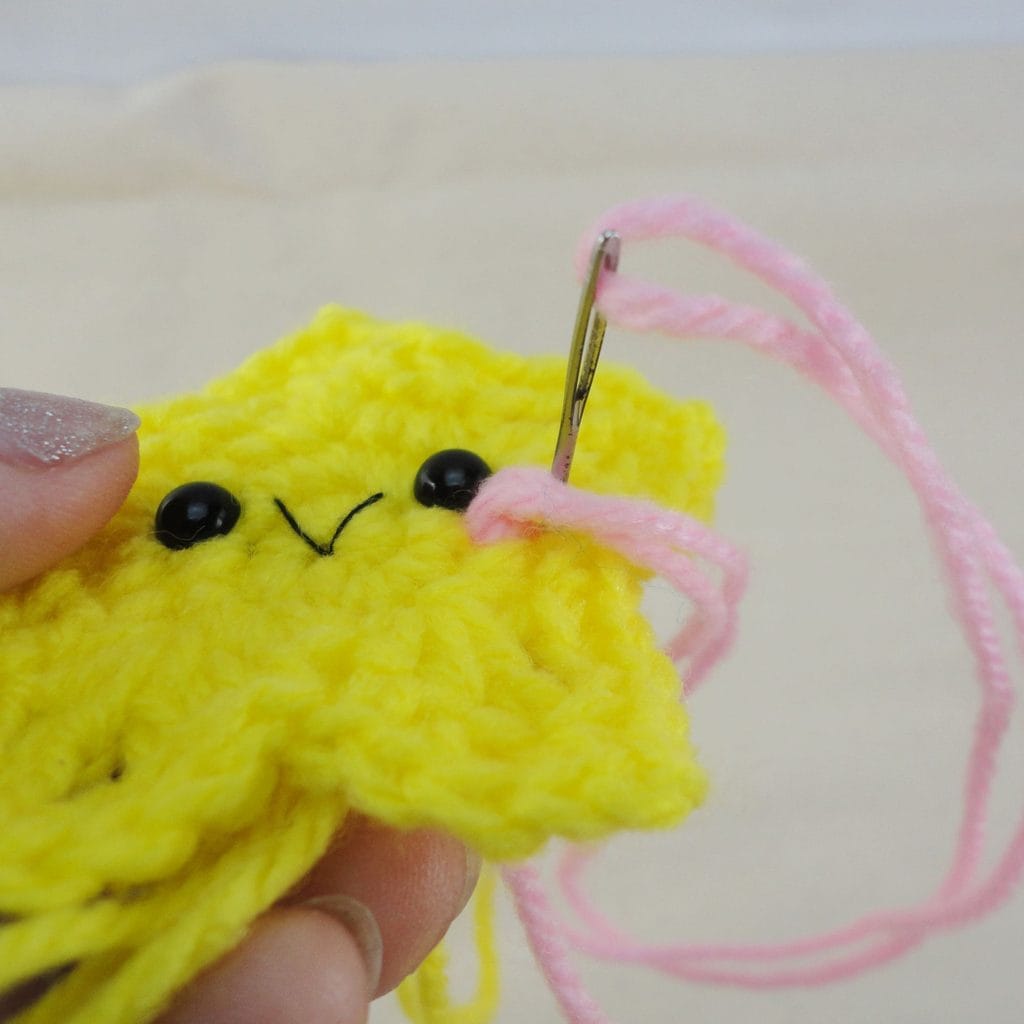
- Blush: Thread your yarn needle with pink yarn and stitch twice horizontally just below the outer edge of each eye to create rosy cheeks.
Part 4: Assembly & Hanging Loop
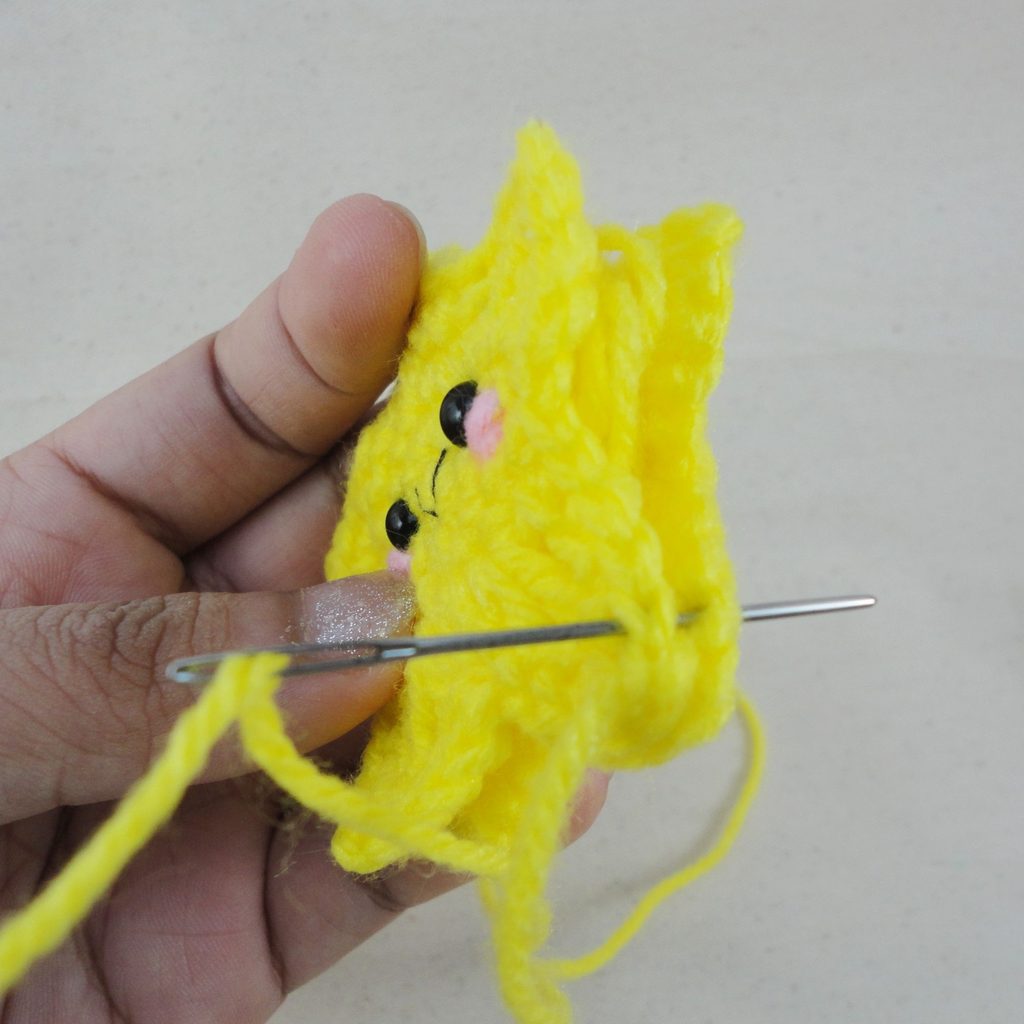
- Align the Panels: Place the two star panels together with the wrong sides facing inward (and the right sides facing out), carefully matching up all five points and outer stitches.
- Sew Together: Thread the 1/2 yard (45.7 cm) yarn tail from the first star onto your yarn needle. Sew around the outer edge by passing through matching stitches on both panels. Tuck any stray interior yarn tails inside the star as you sew so they are hidden.
- Fasten Off: Once you have sewn all the way around, fasten off securely, weave the remaining tail through the inside of the star, and trim the excess yarn.
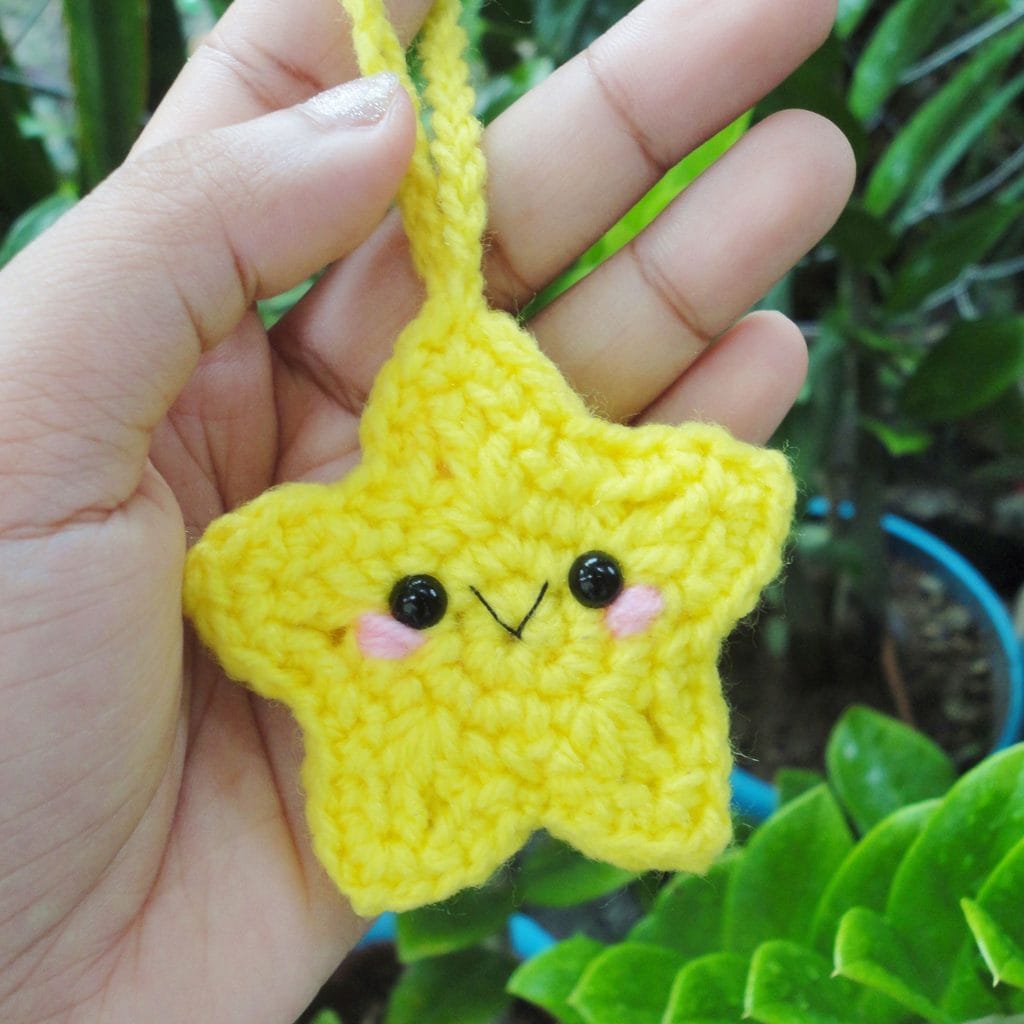
- Hanging String: Join yellow yarn at the very top point of the star, work 50 CH, and join back to the same tip with a SL ST to form a hanging loop. Fasten off and weave in the ends.
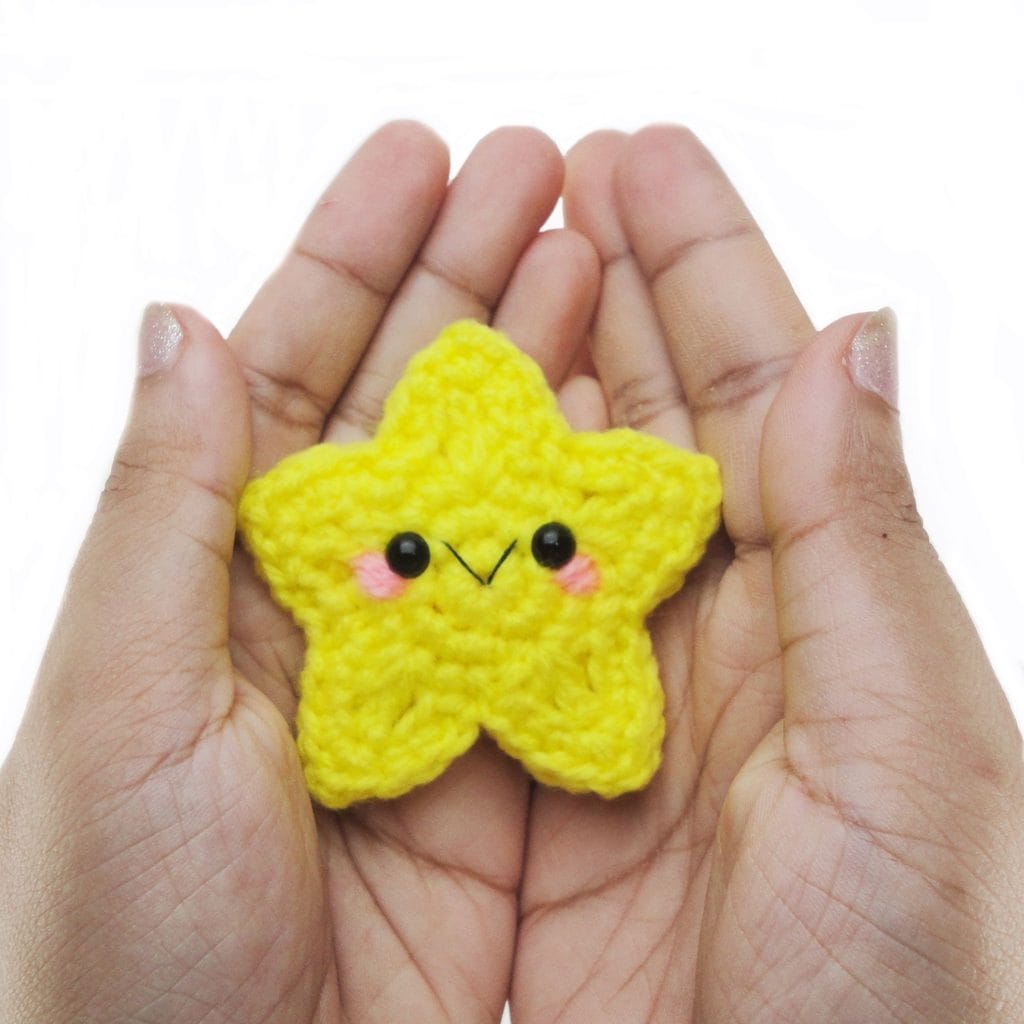
Congratulations on finishing Suzie the Star! Hang her on your holiday tree, attach her to a gift bag, or brighten up a cozy corner of your room.
Voila!
Now, when you have time, share your Suzie Star on social media and be ready to get some love from my friends and team. Just mention or tag @woolshie on Instagram or Facebook so we get to see your beautiful makes!
For questions and comments, feel free to share down below or send me a message on my socials or feel free to email me at angie@woolshie.com
Try also some of our Easy Crochet Pattern: