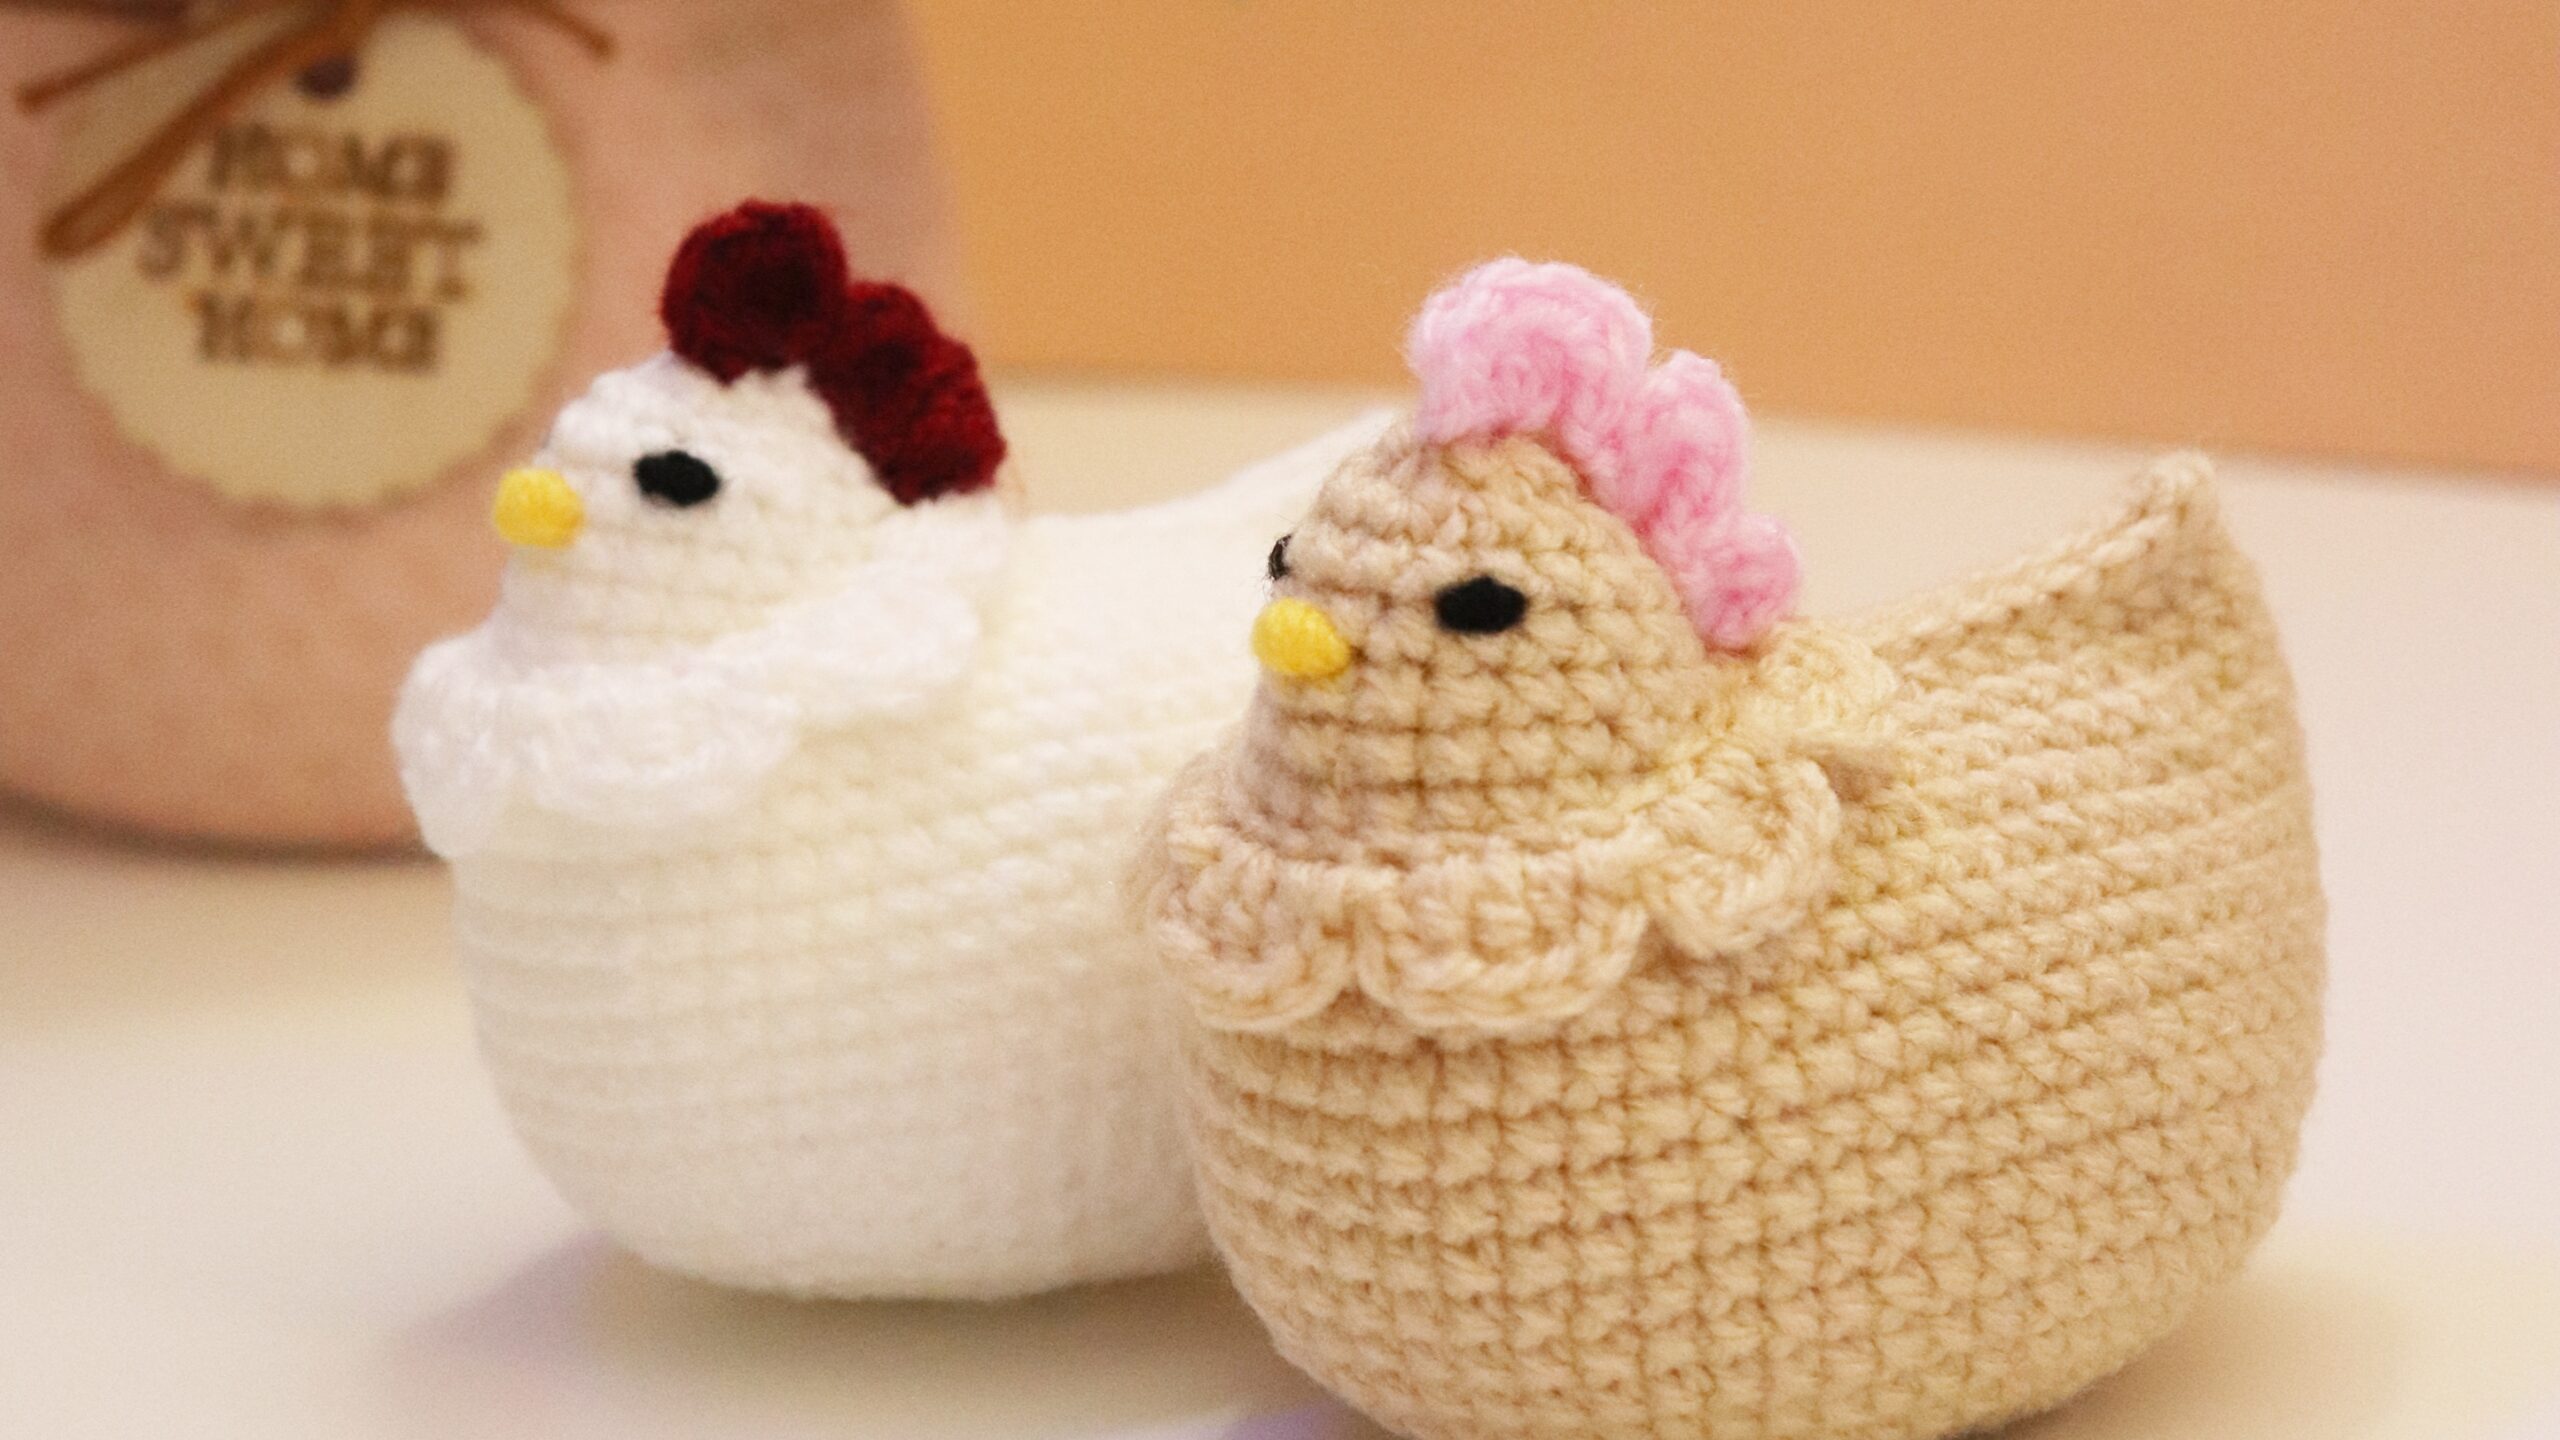
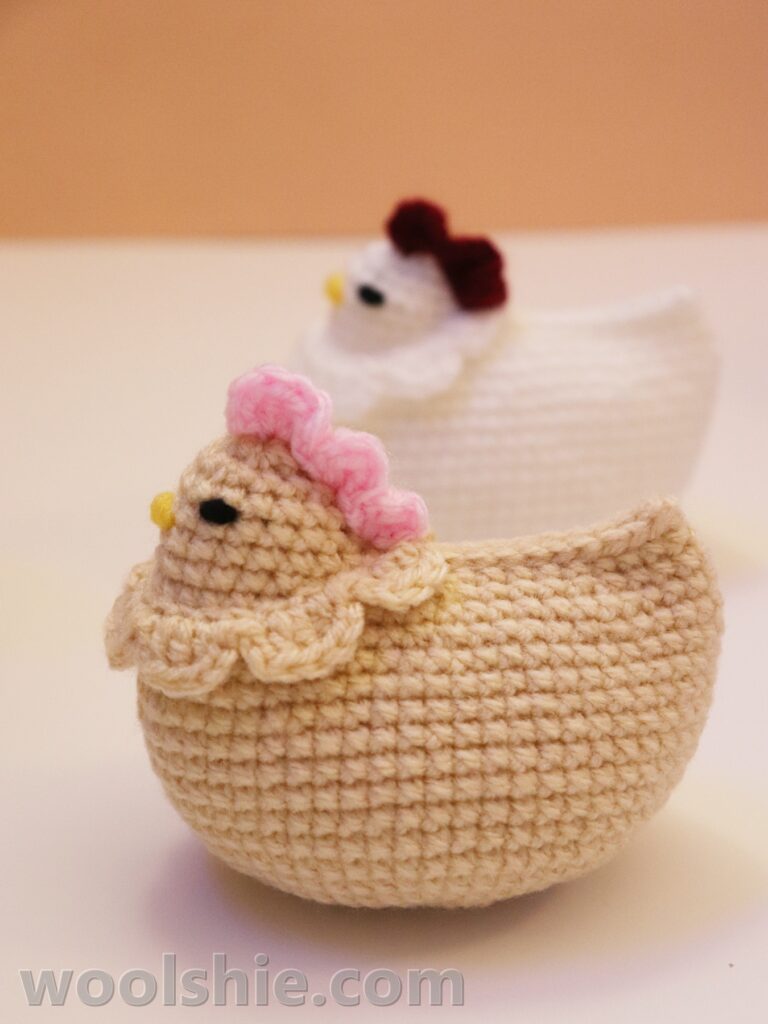
Chicken Crochet Pattern Easy for Easter Season
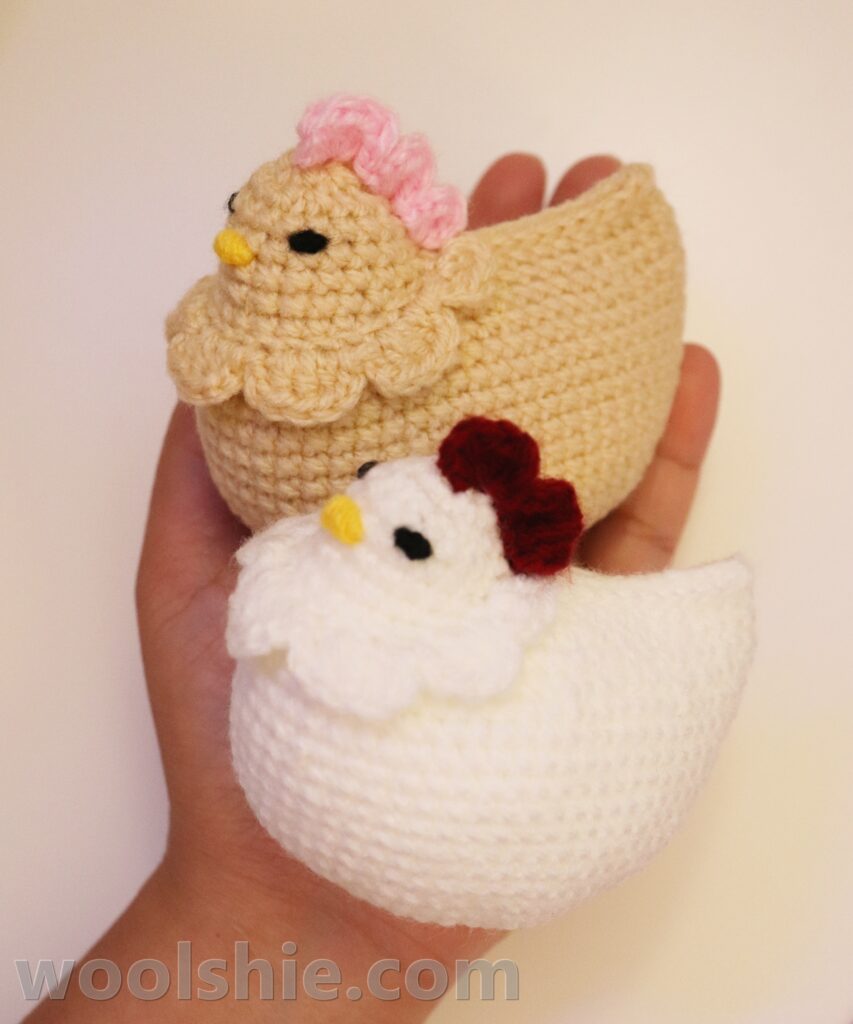
Crochet this easy Clara the Chicken crochet pattern, which was made for those quiet, cozy moments when you just want to create something cute without overthinking every stitch. Whether you’re a beginner learning amigurumi or a seasoned crocheter looking for a quick and relaxing project, Clara the Chicken is the perfect little make.
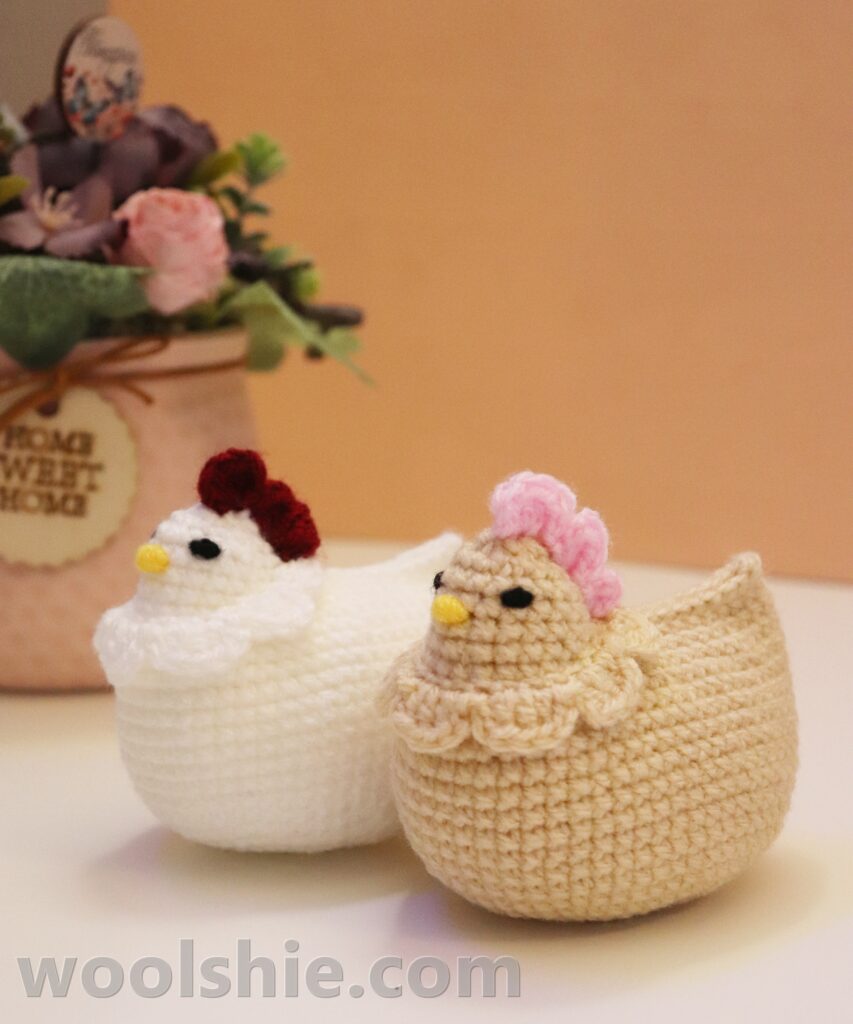
Inspired by childhood memories of growing up surrounded by chickens, this design carries a soft story of curiosity, simplicity, and joy. And the best part? You can make her in both brown and white, just like I once imagined as a child.
If you’re looking for a quick, beginner-friendly crochet project for easter season that’s adorable, giftable, and perfect for markets—this one is for you!
Enjoy Crocheting!
Pattern Details
Skill Level: Beginner
Pattern Type: Amigurumi
Crochet hook size: 2.5mm
Yarn: DK light weight (3) yarn
Finished Size: Approx. 8 cm (height) and 9 cm (width)
A Little Story from My Childhood
Growing up in the province, I was always surrounded by chickens—clucking in the yard, chicks running around, and mornings filled with the sound of life waking up slowly.
I remember helping my father feed them. Because of this, I spent so much time watching them, watching closely as they scratched the ground and wandered freely. As a curious little girl, I had one big question in my mind:
“Do brown chickens lay brown eggs, and white chickens lay white eggs?”
Read more about my childhood story
It made perfect sense to me back then.
Back then, in the Philippines, most eggs in the grocery stores were white… so I kept wondering—where do the brown eggs come from?
Because of that curiosity, I would quietly observe our chickens, even our neighbor’s chickens, waiting… watching… hoping to finally discover the truth.
However, little Angie, the investigator, never quite solved the mystery.
Looking back now, it makes me smile—how deeply curious and patient I was, simply trying to understand the little wonders of everyday life.
So today, in honor of that curious little girl, I created Clara the Chicken—in both brown and white, just as I once imagined.
The color of an egg doesn’t depend on the chicken’s feather color—it depends on the breed of the chicken.
Here’s a fun way to explain it to your curious little ones
Now, let’s answer that childhood question in a simple and fun way. Do brown chickens lay brown eggs, and white chickens lay white eggs?
Not exactly.
In reality, the color of an egg doesn’t depend on the chicken’s feather color—it depends on the breed of the chicken.
Think of chickens like crayons—different kinds make different colors, no matter how they look on the outside. The color of an egg doesn’t depend on the chicken’s feather color—it depends on the breed of the chicken.
Some chickens are bred to lay white eggs
Others are bred to lay brown eggs
And interestingly, some even lay blue or green eggs!
Instead, think of chickens like crayons—different kinds create different colors, no matter how they look on the outside.
In a gentle way, this can even help little ones understand that differences on the outside don’t define what’s inside—a sweet and simple way to introduce kindness and respect
Why You’ll Love this Pattern
Clara is designed with simplicity and sweetness in mind:
- Beginner-friendly and easy to follow
- Works up quickly—perfect for gifting or markets
- Minimal sewing required
- Soft, squishy, and adorable
Whether you’re making her for a child, a loved one, or just for yourself…
Clara is sure to bring a little joy to every heart—young or young at heart.
Materials & Tools
- 2.5 mm crochet hook
- DK lightweight (3) yarn (Yarn used in this pattern: Super Preis)
Main color: White or Brown
Details: Black, Yellow, Pink or Red - Fiberfill stuffing
- Yarn needle
- Scissors
- Stitch marker or yarn scrap
Abbreviations in US Terms
- ch – chain
- sc – single crochet
- inc – single crochet increase (2 sc in one stitch)
- dec – single crochet decrease
- sl st – slip stitch
- dc – double crochet
Pattern Notes
- […] x 8 – repeat instructions 8 times
- (…) – total number of stitches in a round
- Work in continuous rounds unless stated otherwise
- Use a stitch marker at the end of the round to keep track
- Overhand knots will be used for the eyes and mouth, see the video guide
Written Pattern
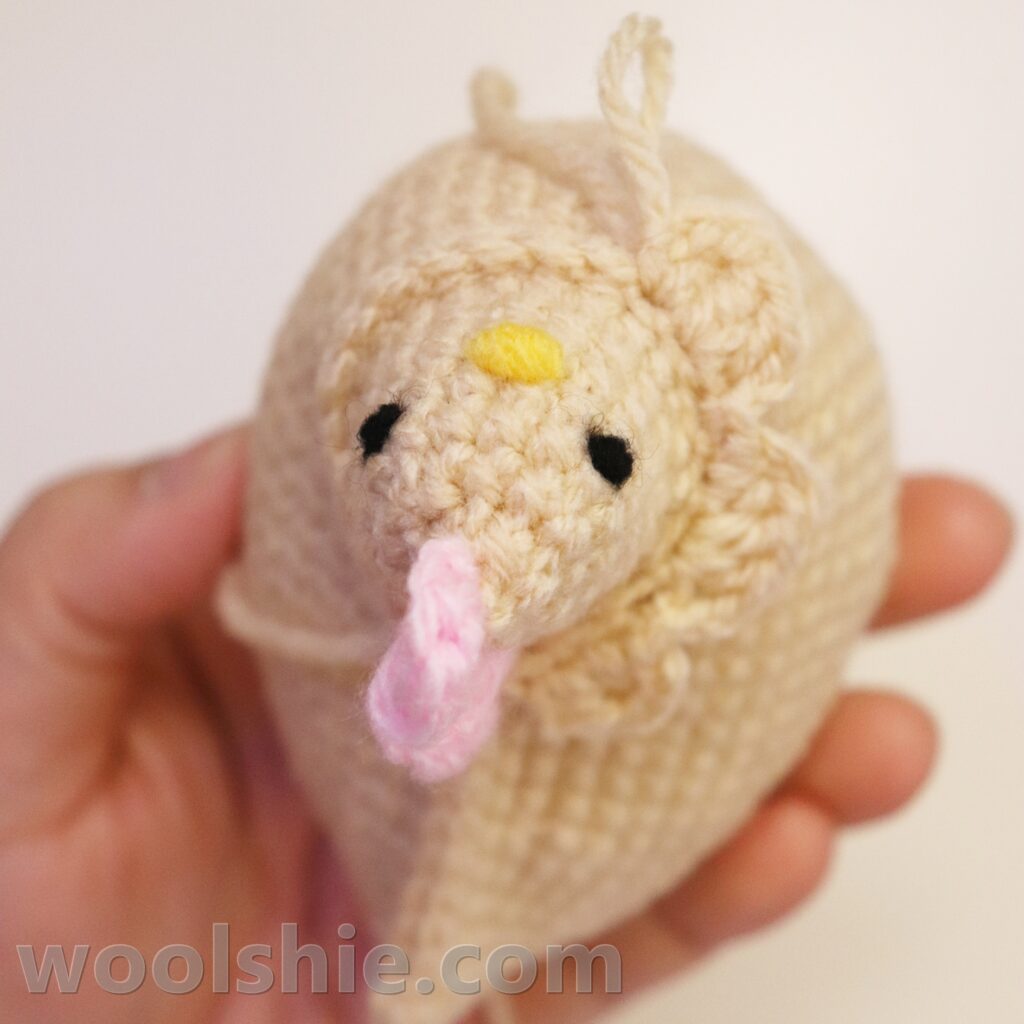
We begin by making the eyes and beak, then crochet the body from the bottom to top of the head, crochet the comb or the crown, and lastly crochet the hackles (neck details).
Overhand knots will be used for the eyes and mouth. Watch the Video Guide
Eyes
Using black yarn, cut 2 pieces of 12 cm long, then do the following for the both yarn strings:
- Make Overhand knots (3 wraps each)
- Pull tight and secure
Beak
Using yellow yarn, cut 12 cm long, then do the following:
- Pull tight and secure
- Make Overhand knots (8 wraps)
Put these aside. Now, let’s work on the body and these pieces will be attached when we crochet the head.
Body
Use white or brown yarn as main color.
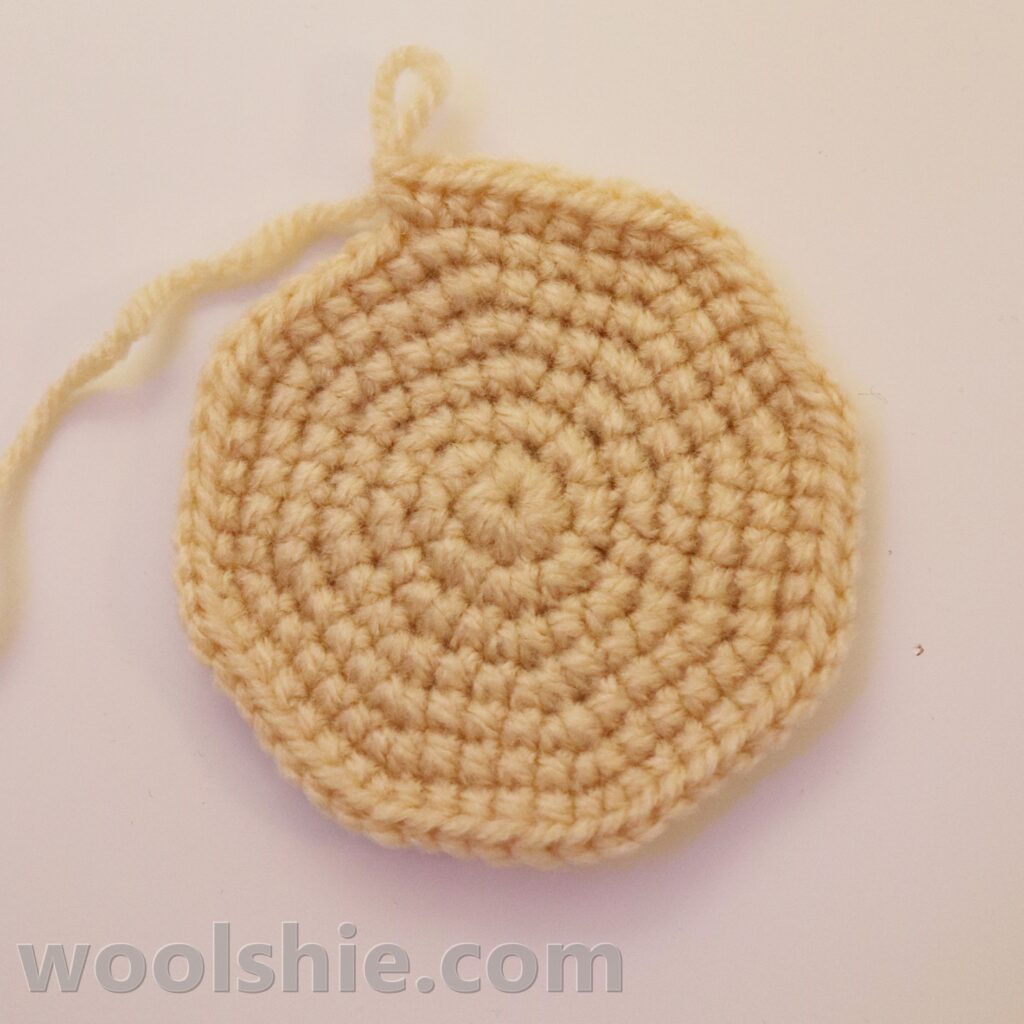
– round 1: magic ring, 8 sc (8)
Alternative: ch 2, 8 sc in the first chain
– round 2: inc all (16)
– round 3: [1 sc, inc] x8 (24)
– round 4: [2 sc, inc] x8 (32)
– round 5: [3 sc, inc] x8 (40)
– round 6: [4 sc, inc] x8 (48)
– round 7: [5 sc, inc] x8 (56)
– rounds 8–17: sc all around (56)
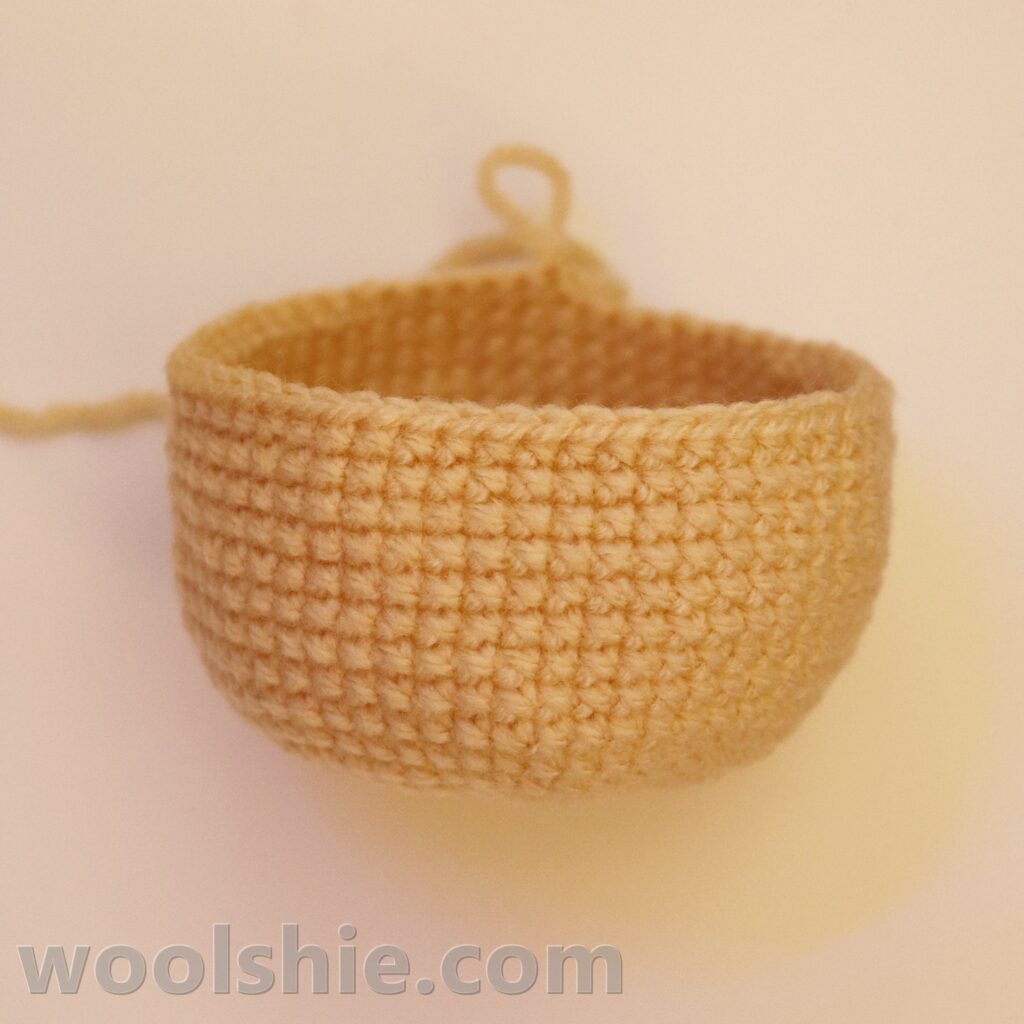
Shaping the Body
– round 18: [5 sc, dec] x8 (48)
– round 19: sc all around (48)
– round 20: [4 sc, dec] x8 (40)
– round 21: sc all around (40)
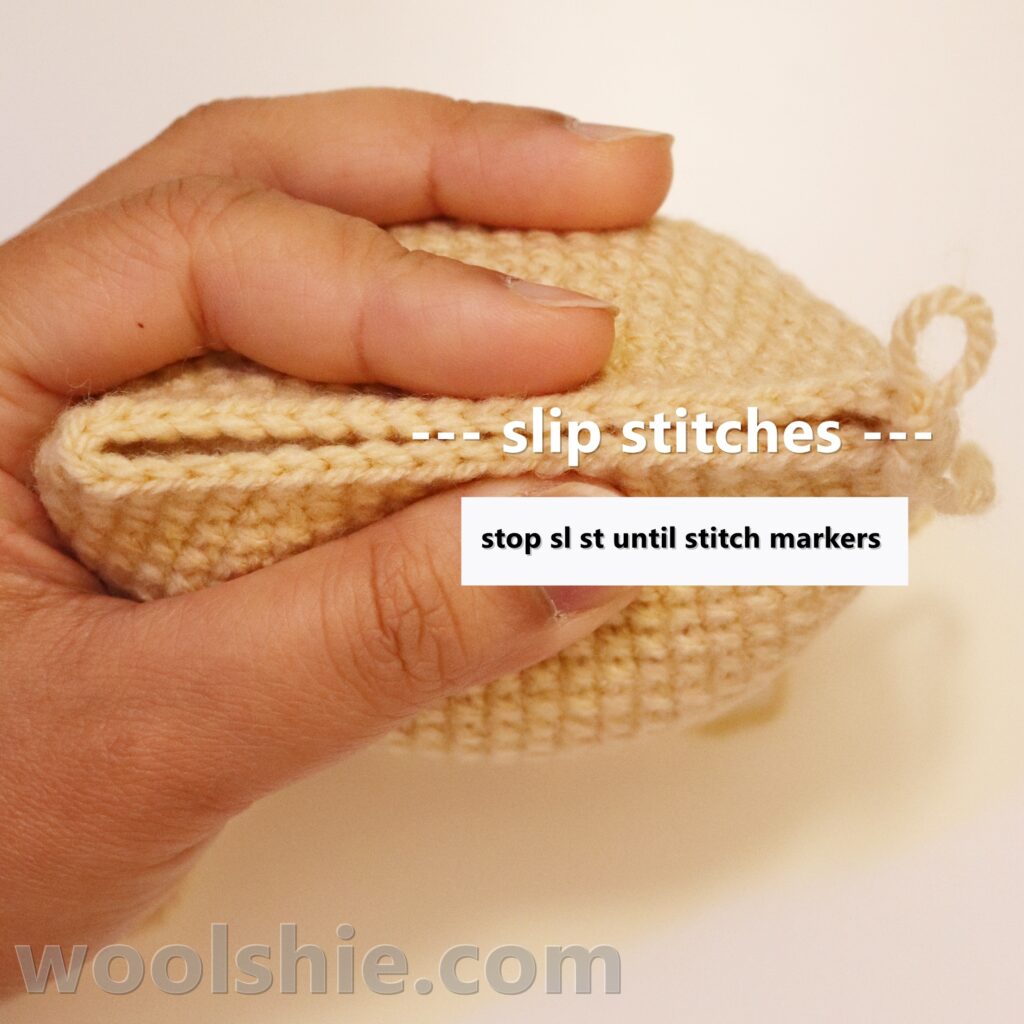
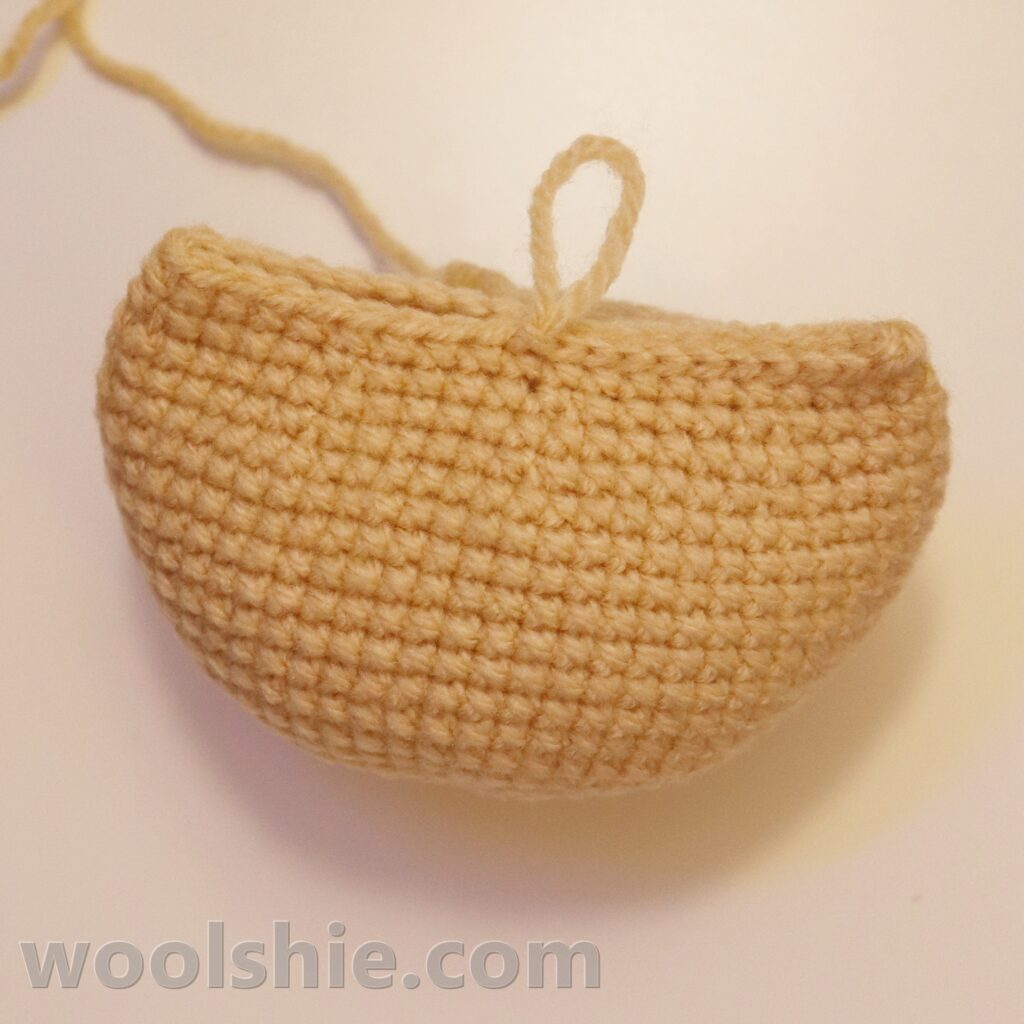
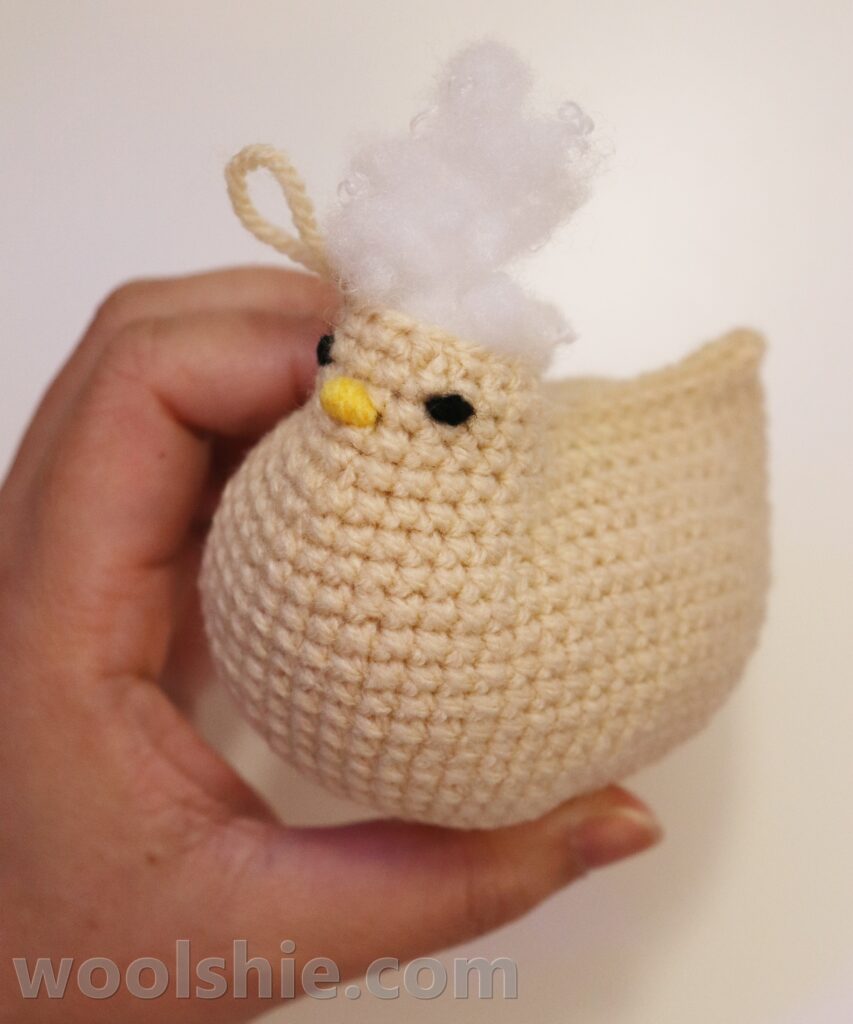
Slowly stuff with fiberfill. Flatten your work.
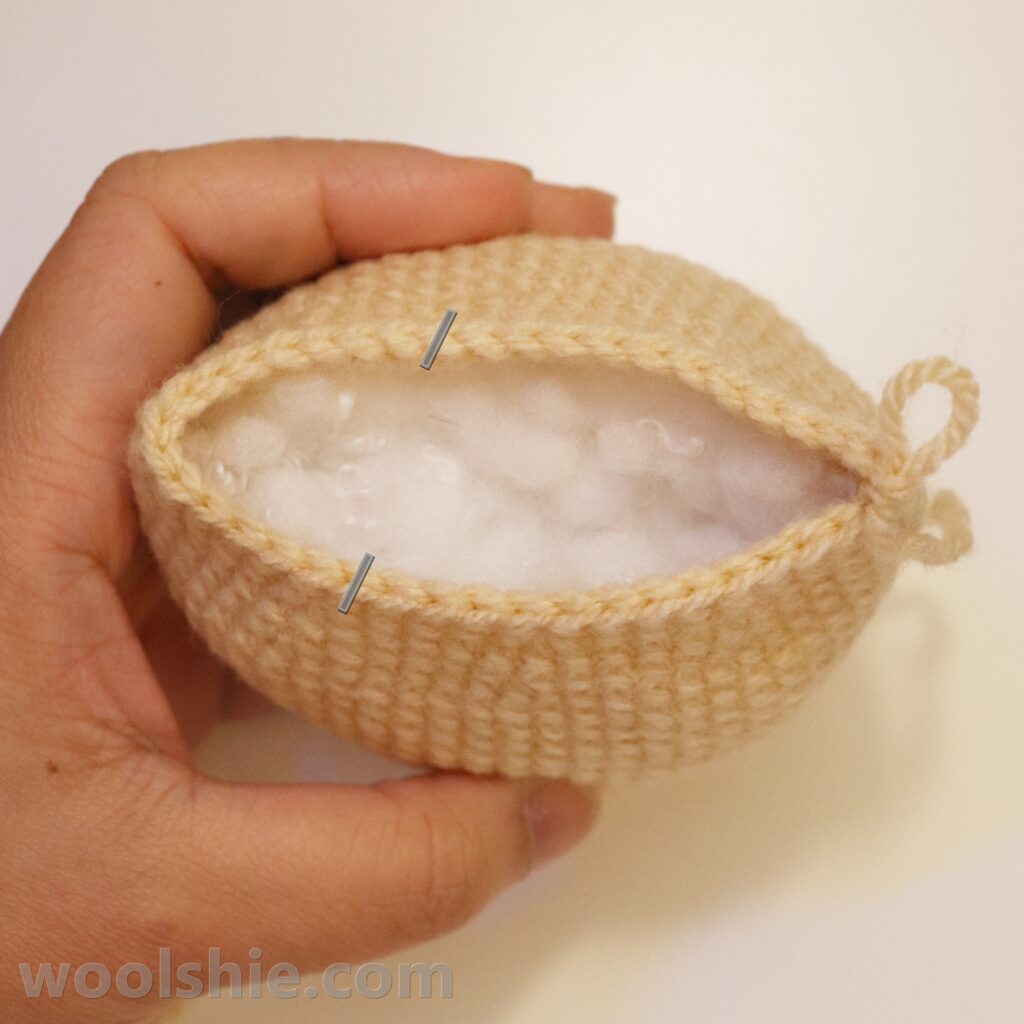
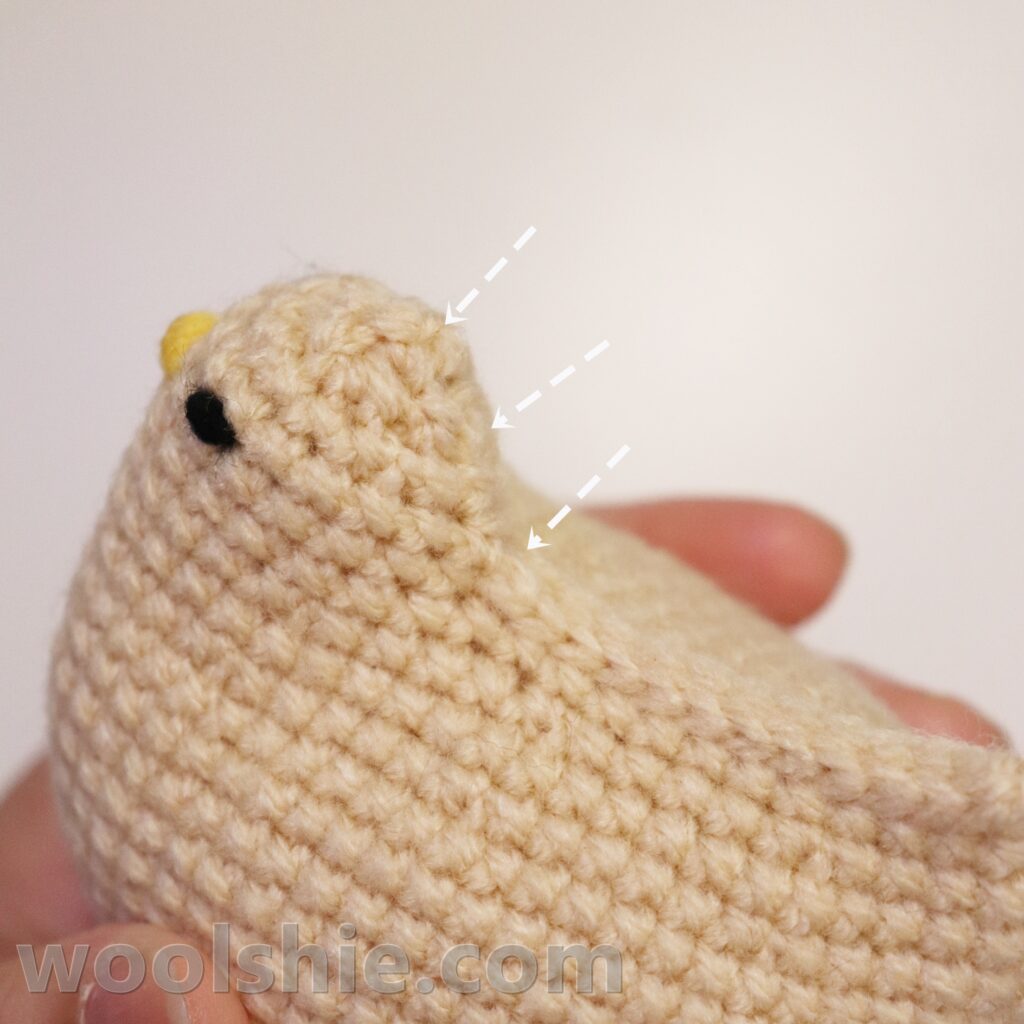
Place stitch markers at stitches 13th and 28th.
Join both sides together with slip stitches to close the body slightly, stop before reaching the stitch markers.
Head
Continue working on the remaining 16 stitches only:
– rounds 22–23: sc all around (16)
– round 24: [2 sc, dec] x4 (12)
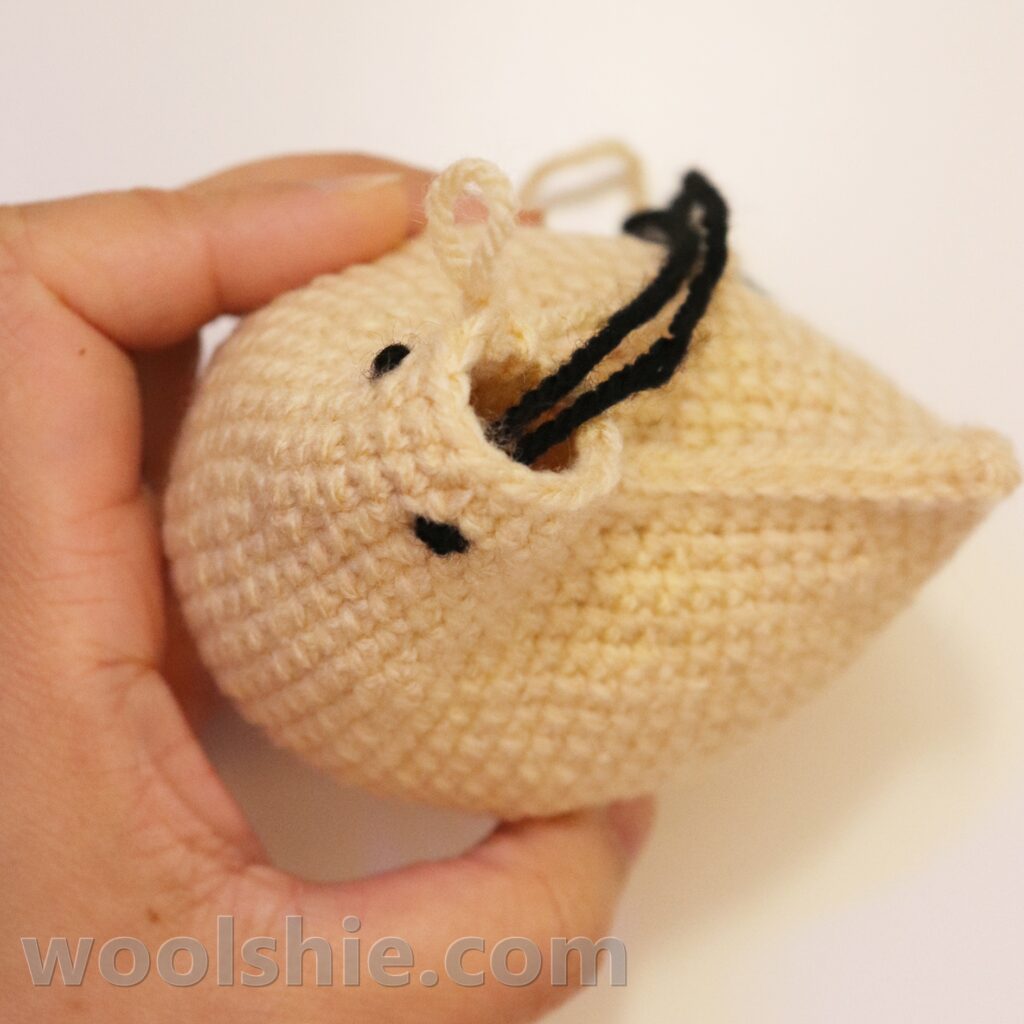
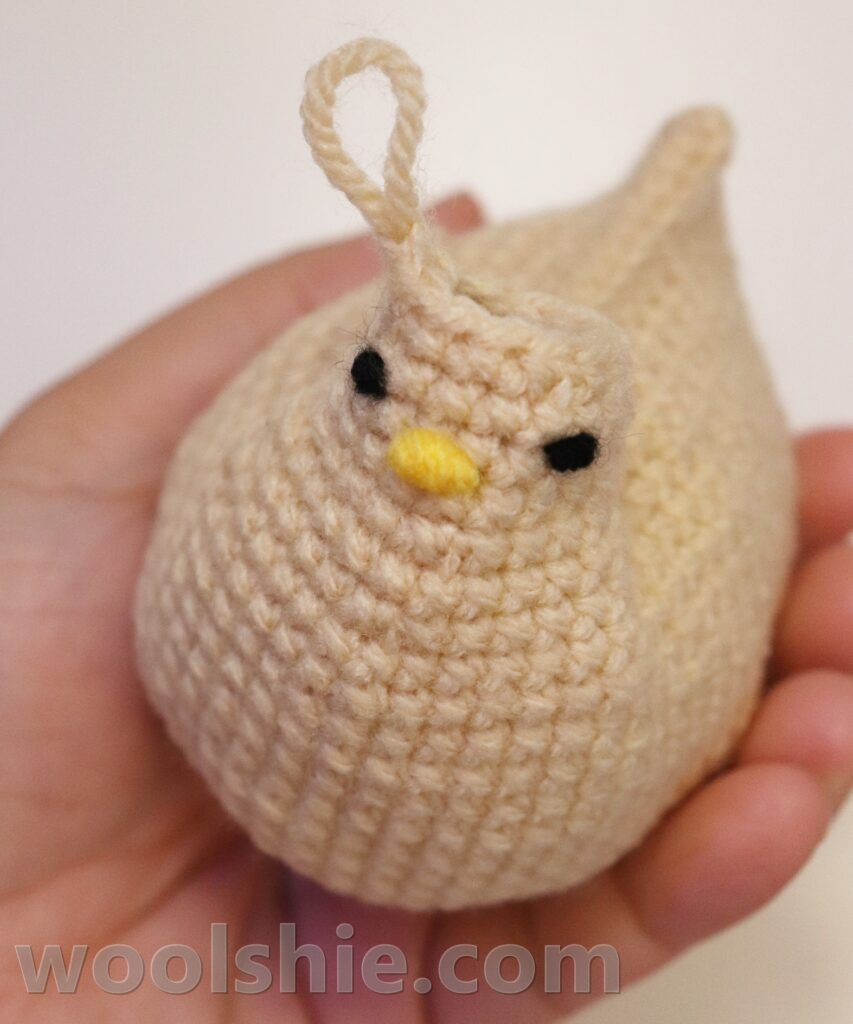
Insert eyes between rounds 22–23 (4 stitches apart), tightly tie together and secure the ends.
Insert beak centered below the eyes, tightly tie together and secure the ends.
– round 25: dec all around (6)
Stuff the head with fiberfill. Close and fasten off, then hide yarn inside the body.
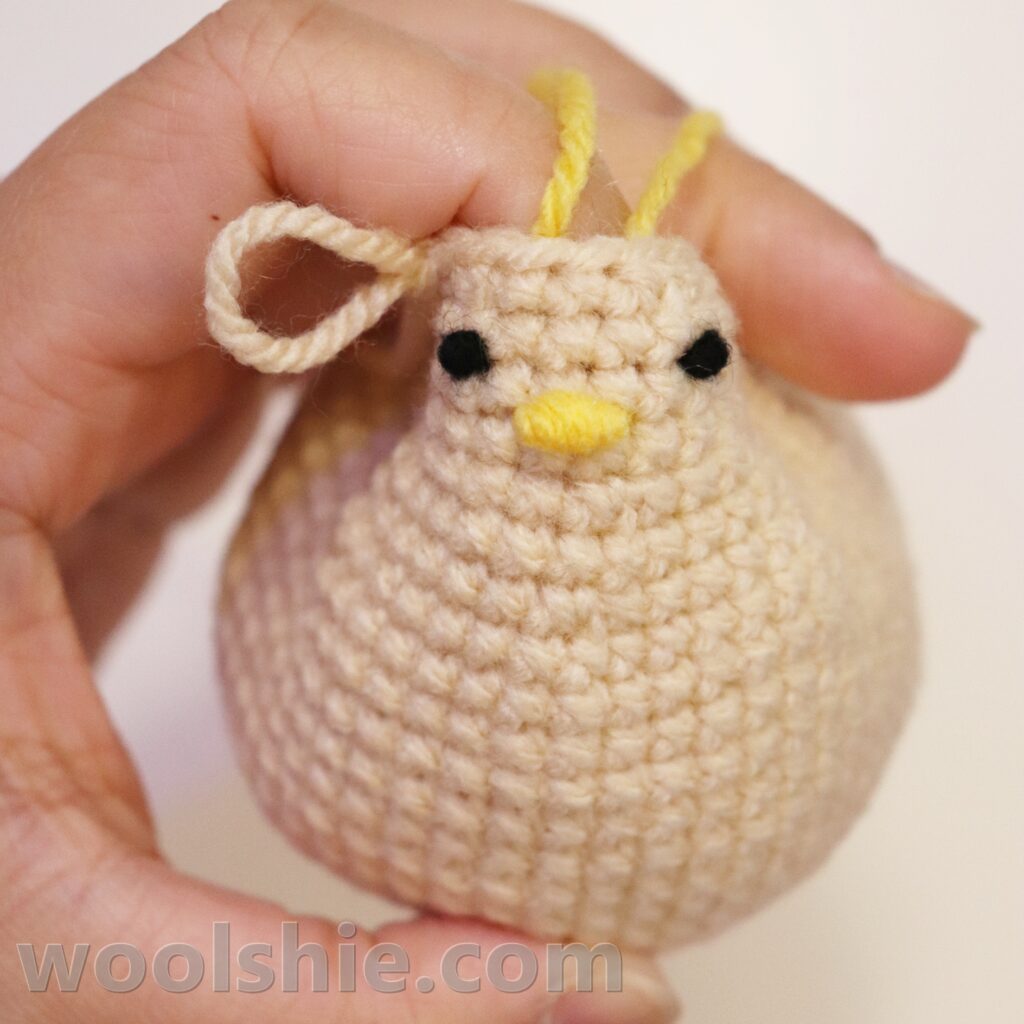

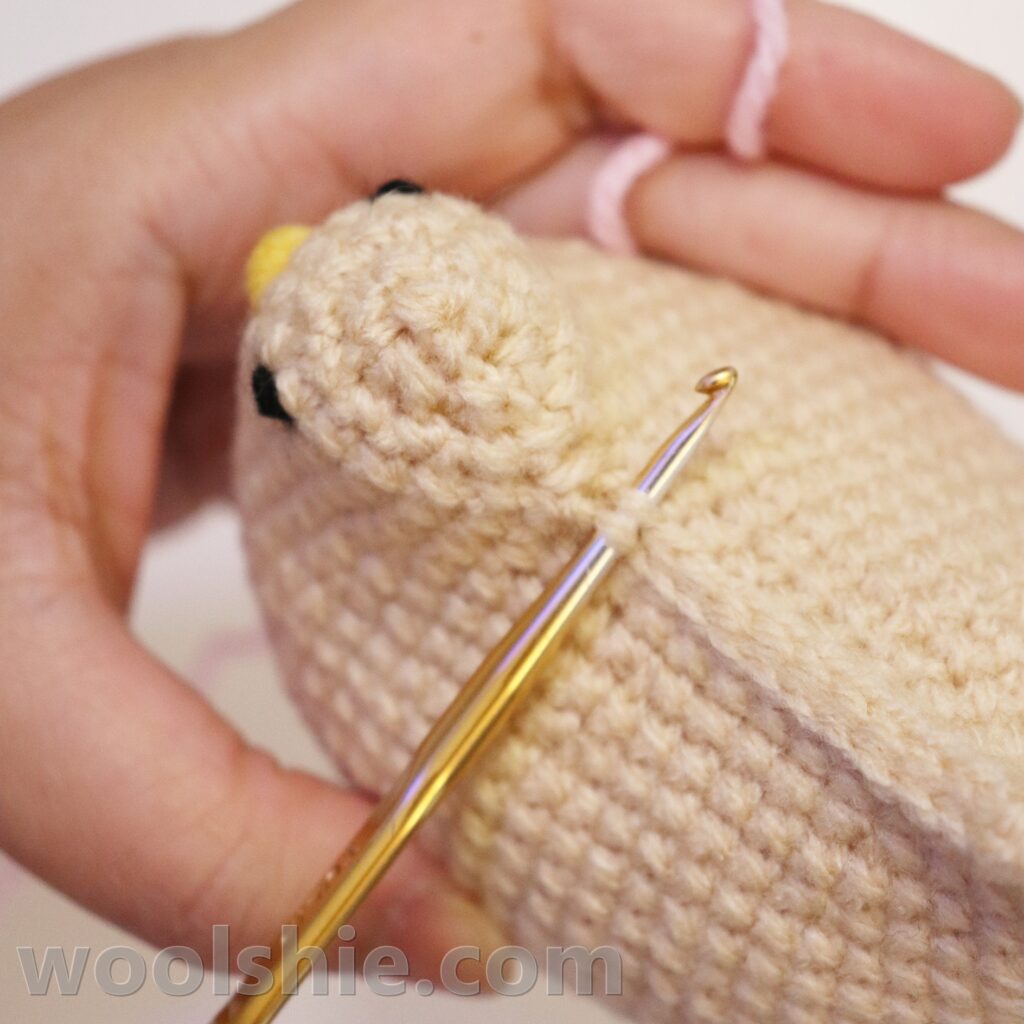
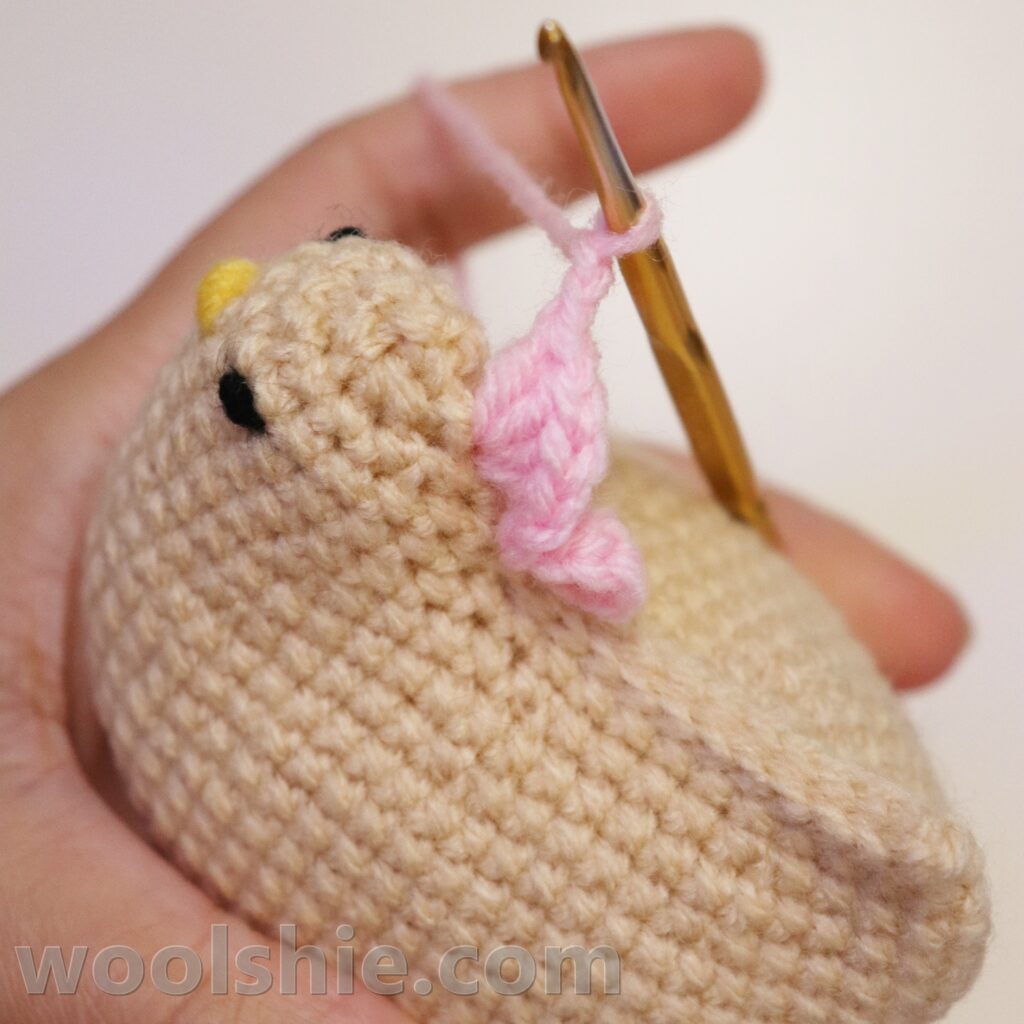
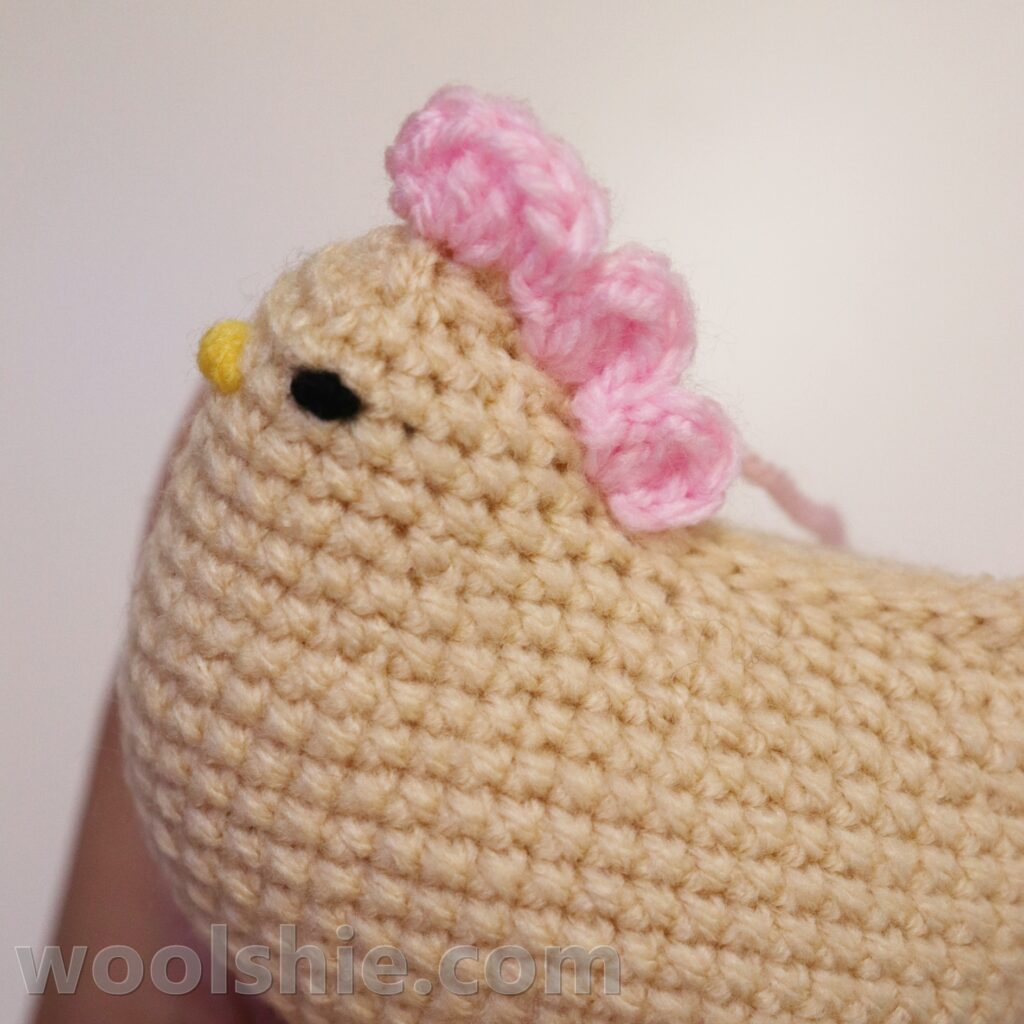
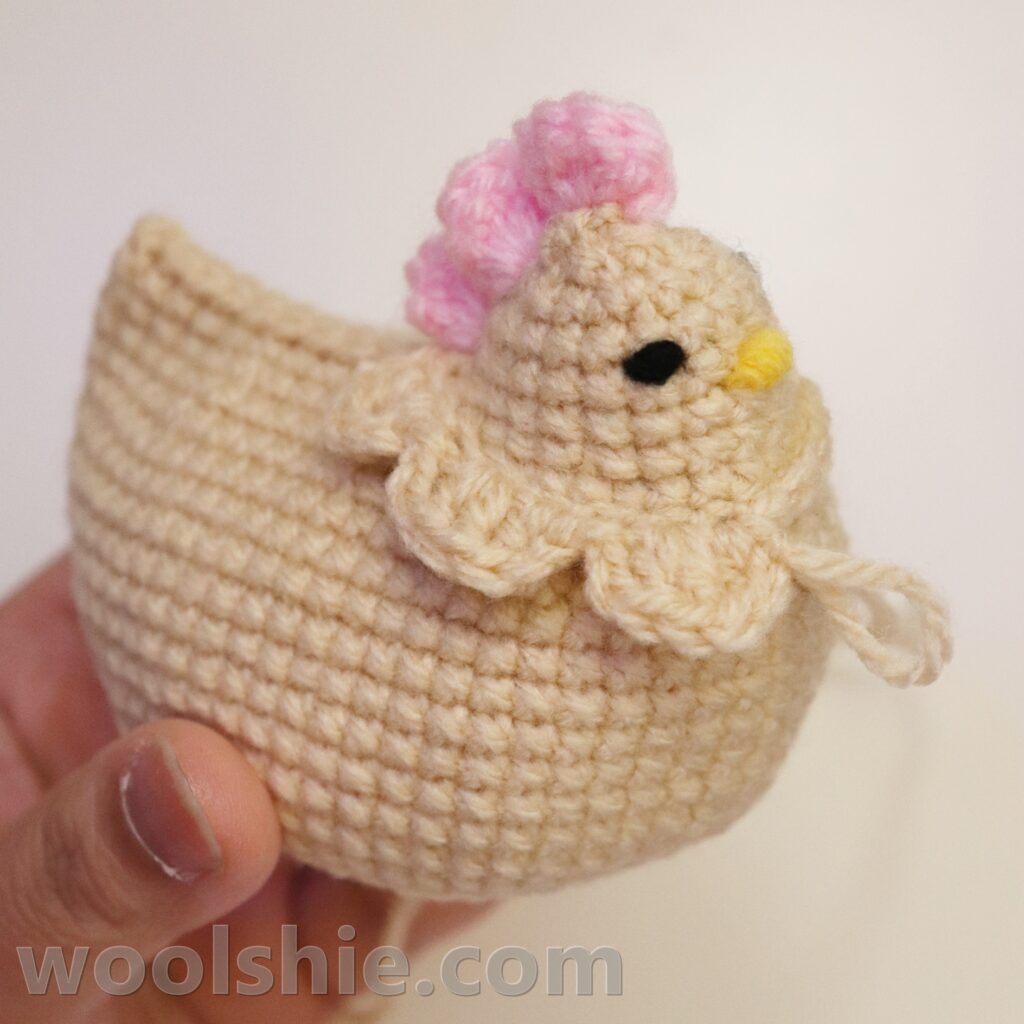
Comb (Crown)
Using red or pink yarn:
1st crown, attach yarn after the last sl st when the body was joined.
- ch 2
- In same stitch: 2 dc, ch 2, sl st, ch 2
2nd crown, find the end stitch of round 23.
- In same stitch: 3 dc, ch 2, sl st, ch 2
3rd crown, crochet in the closing stitch at the top of the head.
- In same stitch: 3 dc, ch 2, sl st
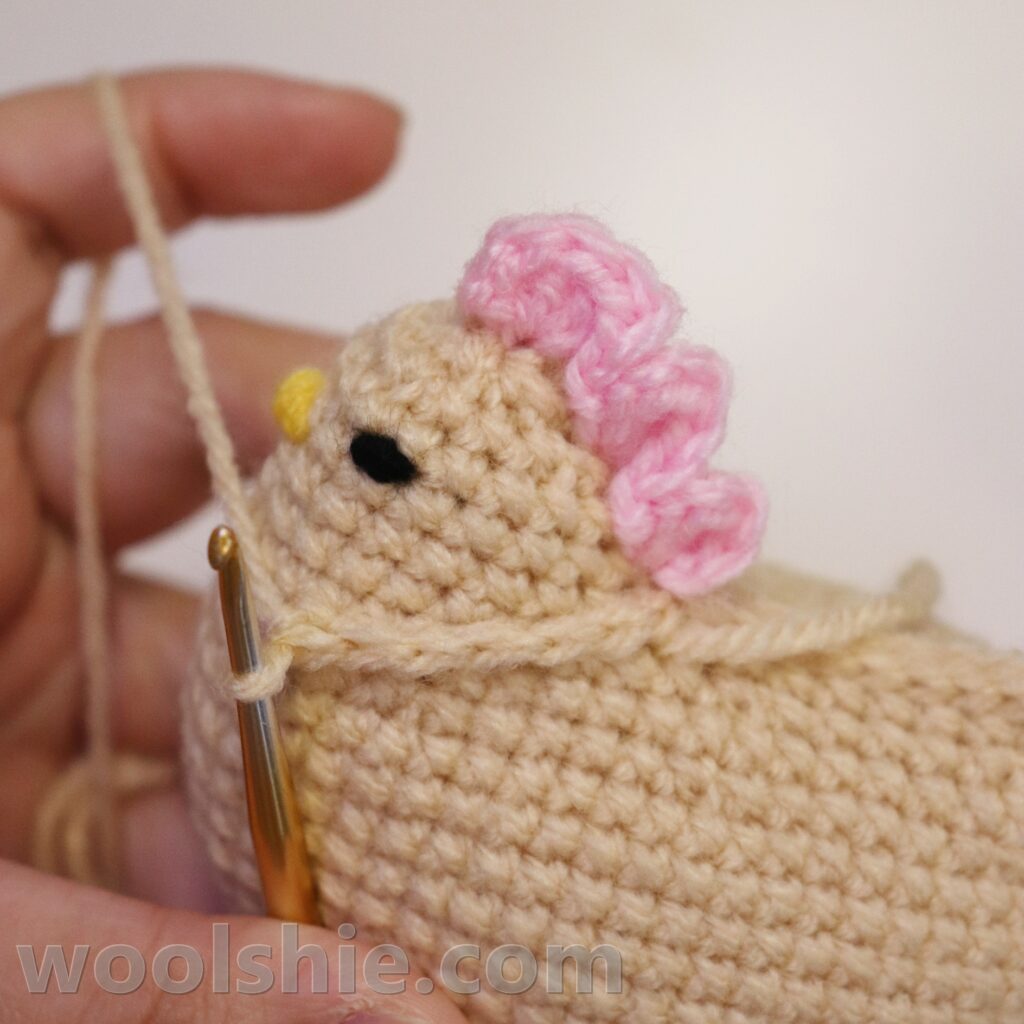
Hackles (Neck Details)
You will create 7 fan-style stitches around the neck.
First, make 20 sc evenly around the neck area, then crochet the fan-style stitches.
Fan Pattern:
1st:
- ch 2
- 1 dc
- 1 dc in next stitch, sl st in same stitch
- sl st in next stitch
2nd – 6th fans:
- ch 2
- 2 dc in same stitch
- 1 dc in next stitch, sl st in same stitch
- sl st in next stitch
7th fan:
- ch 2
- 1 dc
- 1 dc in next stitch, sl st in same stitch
Fasten off and hide the yarn end.

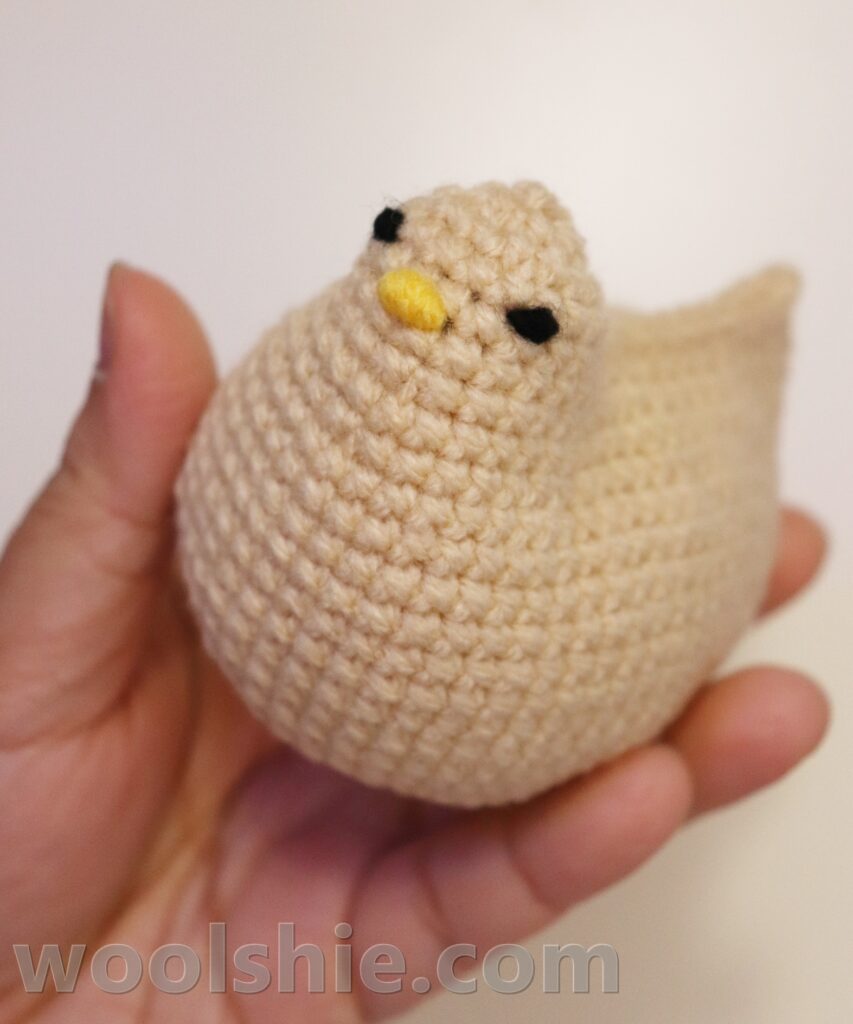
Voila! You did it!
Free Crochet Pattern (PDF) in Patterns Library
Beginner Tips for Success
• Use a smaller hook if stitches appear loose.
• Stuff the amigurumi little by little to avoid lumps.
• Keep stitches tight to prevent stuffing from showing.
• Count stitches often to keep your shape correct.
Pattern Support
If you need help or want to ask questions about the pattern, please contact us on our Contact page. If you choose to modify the pattern or use a different yarn weight or crochet hook size, you can share your questions to our Facebook WCC Woolshie Crochet Club. I would love to help and other members too!
Explore More Free Crochet Patterns
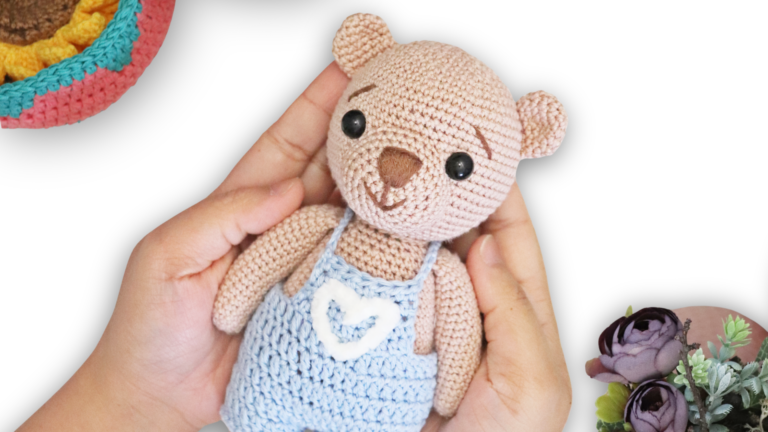
If you enjoyed making Bella the Brown Bear, you may also love these patterns from Woolshie:
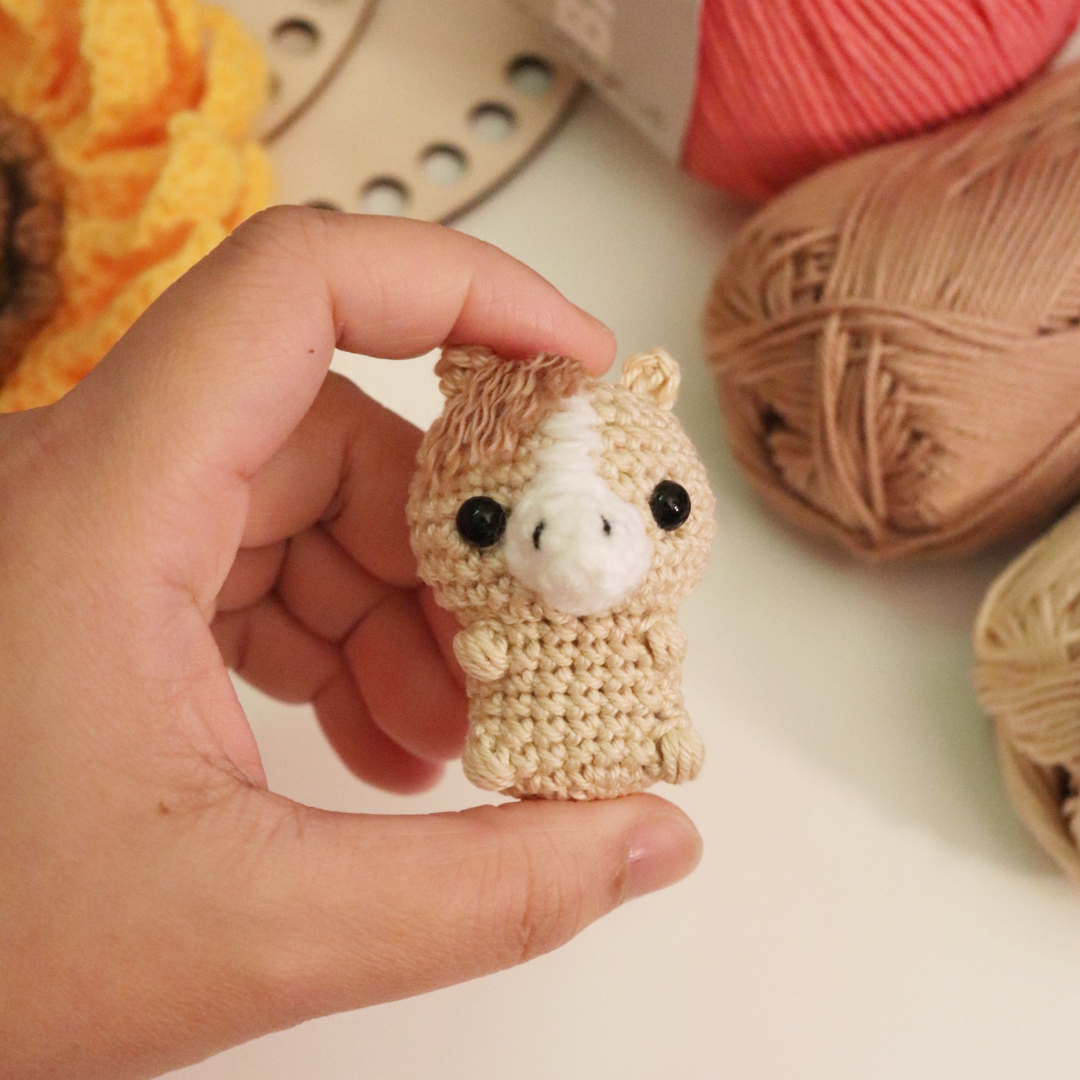
• Little Mouse Amigurumi
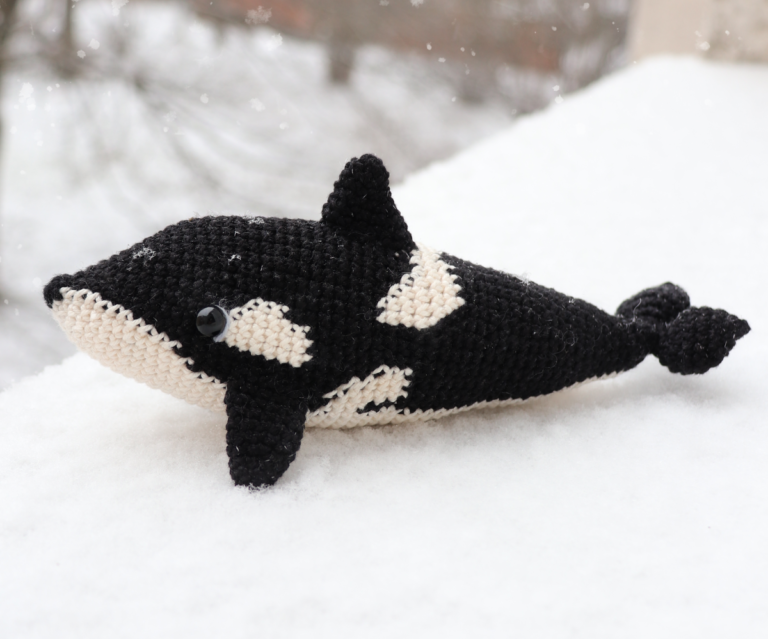
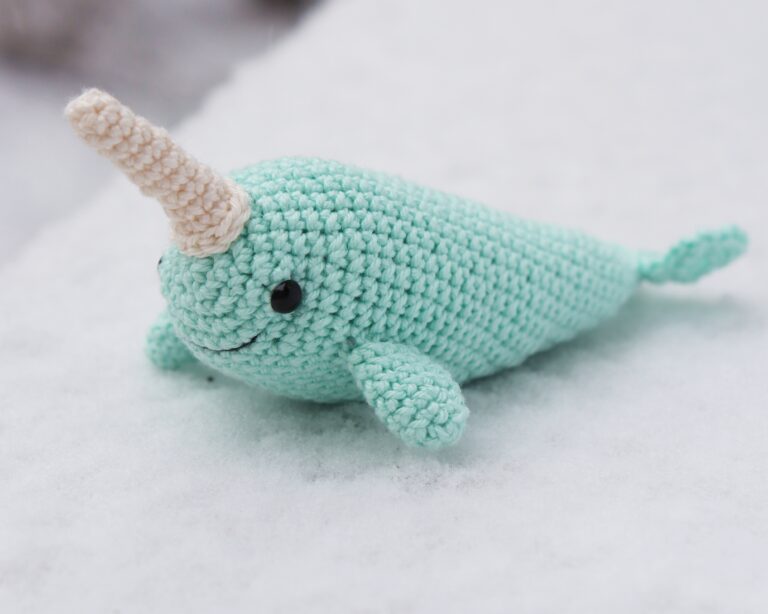
• Narwhal – Arctic Pals Collection
• Heart Couple Amigurumi
These beginner-friendly designs are perfect for gifts for her/him/kids.
Accessibility Statement
This pattern is written in beginner-friendly crochet terms and is curated to be accessible to crocheters of all skill levels. This guide is carefully structured to ensure that even first-time amigurumi makers can follow along and enjoy crocheting along the way.
Copyright
This pattern is © Woolshie. Do not copy, reproduce, or share, in partial or full, without permission. You may sell finished items in small quantities. Please credit TAG @woolshie when posting your makes. I would love to see it!