Welcome to Woolshie — where cozy crochet meets everyday creativity!
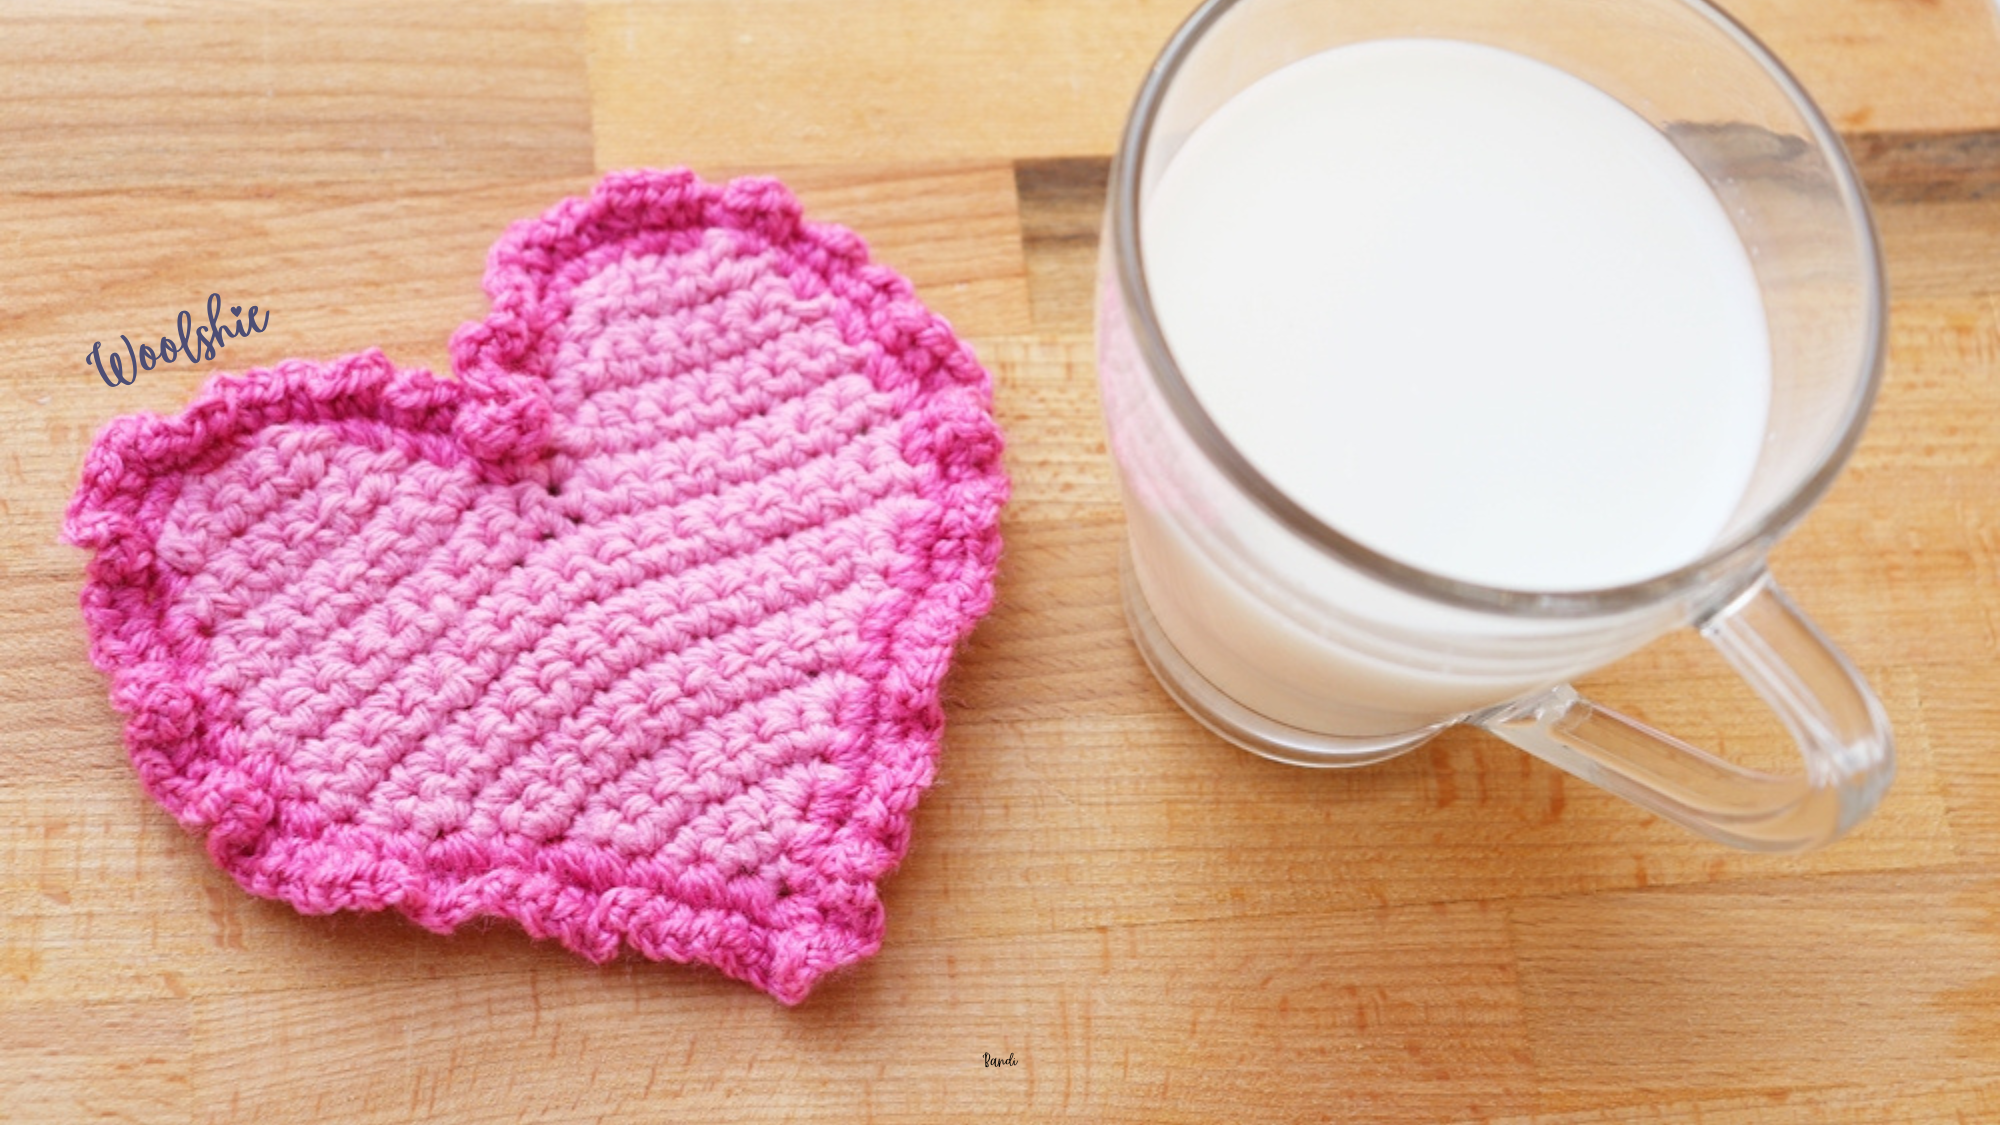
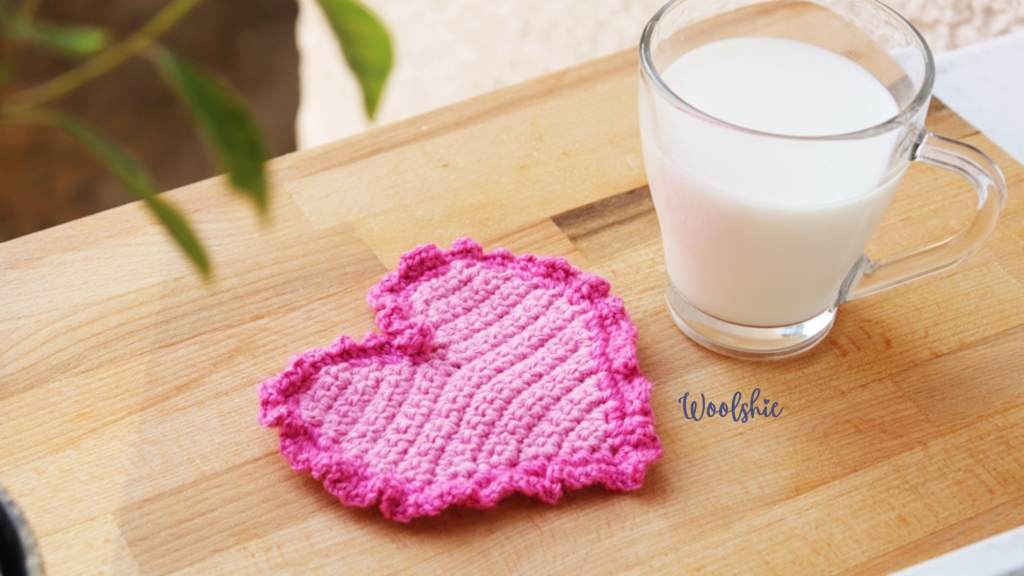
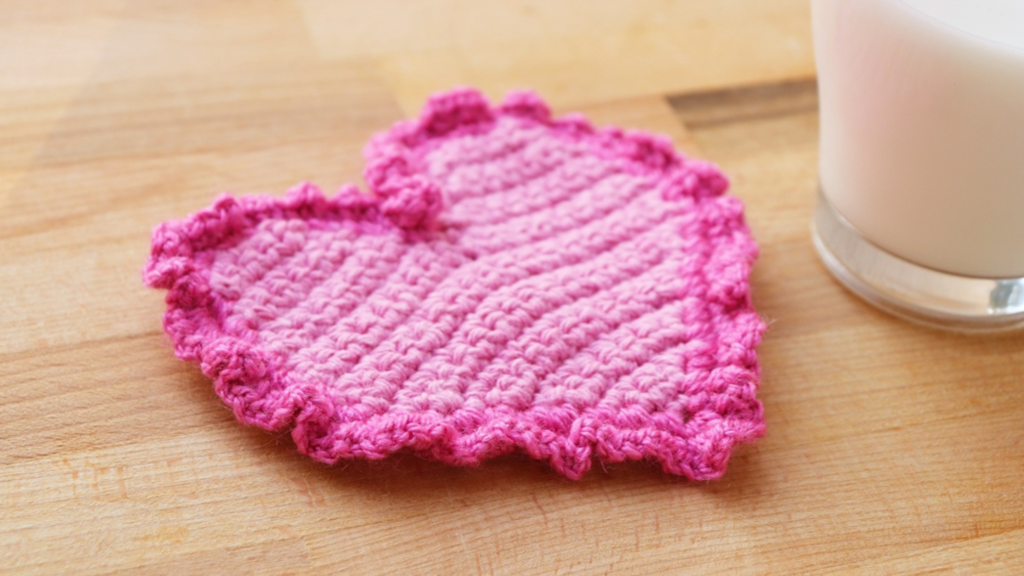
This Heart Mug Coaster crochet pattern is a beginner-friendly crochet project that’s both practical and lovely, a charming piece that’s perfect for protecting your tables and furniture from water rings and condensation marks. Whether you’re enjoying your morning coffee, tea, or hot chocolate, this handmade heart coaster helps protect your surfaces while adding a warm, personal touch to your home.
Crocheting your own mug coaster is one of the most satisfying small projects you can make this Valentines season. This easy, beginner-friendly Heart Mug Coaster is great for everyday use, gifts, or home décor. Happy crocheting — let’s get started!
Pattern Details
- Skill level: Beginner (Easy)
- Finished size: Approx. height 11 cm (4.3 in) and width 12 cm (4.7 in)
- Yarn:
- 4-ply cotton yarn (main)
- 3-ply acrylic yarn (border)
- Hooks: 3.5 mm (main), 2.5 mm (border)
- Terminology: US Terms
Why You’ll Love This Heart Mug Crochet Pattern
- Beginner-friendly and easy to follow
- Small project that works up quickly
- Uses minimal yarn
- Great for gifts, table décor, or everyday use
- Easy to customize with different colors and borders
- This heart mug coaster is perfect for Valentine’s Day, Mother’s Day, anniversaries, or simply as a cozy handmade accent in your home.
Materials and Tools
- 4-ply Cotton Yarn
Used in this pattern: Himalaya Home Cotton, shade Old Rose (approx. 30 m) - 3-ply Acrylic Yarn
Used in this pattern: Red Heart Lisa, shade Candy (approx. 20 m) - 3.5 mm crochet hook (main heart body)
- 2.5 mm crochet hook (border)
- Yarn needle
- Scissors
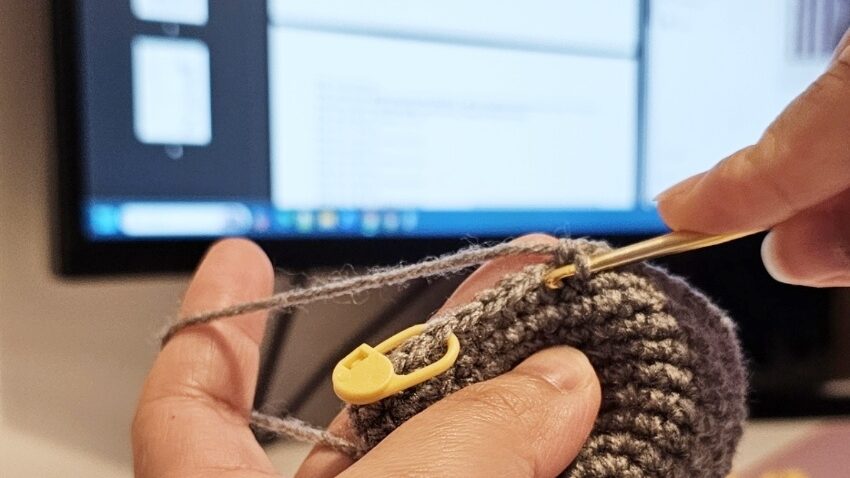
- Stitch markers (optional)
US Terms Abbreviations
- CH – Chain
- SC – Single Crochet
- SL ST – Slip Stitch
- INC – Increase (2 SC in same stitch)
- DEC – Decrease
- R – Row number
Special Stitch
- SC CH 1 – 1 SC then CH 1 in the same stitch
Pattern Notes
- The pattern is for beginner level, with basic crochet stitches knowledge.
- This pattern is worked in rows. In every beginning row, make CH1 then turn your work.
- Use a stitch marker to mark each end of the row.
- Always check your stitch count — numbers in parentheses (…) at the end of each row indicate total stitches.
- The border helps flatten the heart shape — adjust tension if necessary.
Yarn Choice and Texture Notes
Cotton yarn is highly recommended for mug and coaster projects because it absorbs moisture better than acrylic yarn. This helps prevent water rings caused by condensation from hot or cold drinks. Cotton also holds its shape well, keeping the heart flat and sturdy.
The acrylic yarn used for the border adds contrast and structure, helping the coaster keep its shape while giving it a decorative finish. You can easily swap colors to match your kitchen, dining area, or seasonal themes.
Let’s Start Crocheting
Heart (Body)
Use 4-ply cotton yarn and 3.5 mm crochet hook
FIRST PART – Heart Base
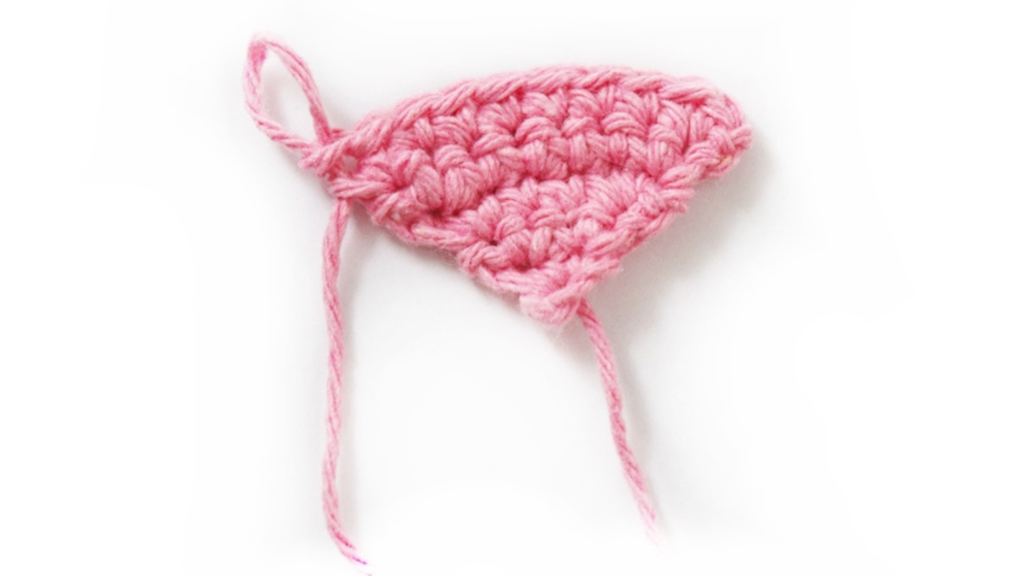
Start with CH 2 (this forms the bottom pointed base of the heart).
R1: INC SC in the 2nd chain from hook (2)
R2: CH 1, turn. INC in the 2nd and 3rd stitches from the hook (4)
R3: CH 1, turn. INC, 2 SC, INC (6)
R4: CH 1, turn. INC, 4 SC, INC (8)
R5: CH 1, turn. INC, 6 SC, INC (10)
R6: CH 1, turn. INC, 8 SC, INC (12)
R7: CH 1, turn. INC, 10 SC, INC (14)
R8: CH 1, turn. INC, 12 SC, INC (16)
R9: CH 1, turn. INC, 14 SC, INC (18)
R10–R13: CH 1, turn. SC across (18)
SECOND PART – Left Curve
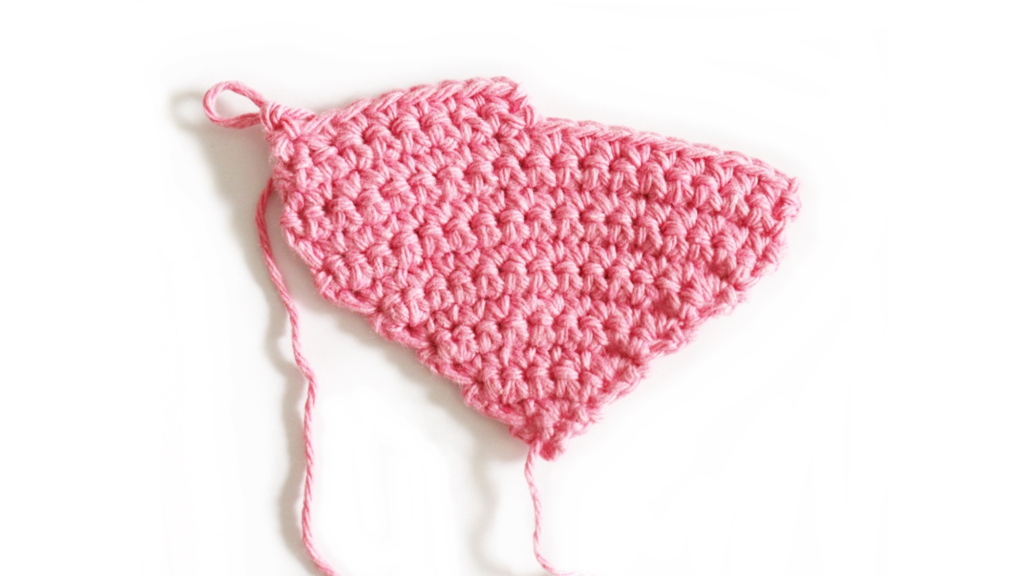
R14–R15: Turn. SC next 9 stitches (9)
R16: Turn. SC next 7, DEC (8)
R17: Turn. SC next 6, DEC (7)
R18: Turn. SC next 5, DEC (6)
R19: Turn. SC next 4, DEC (5)
R20: Turn. DEC, 2 SC, INC — continue down to Row 14, SL ST into center hole. (Do not cut yarn yet)
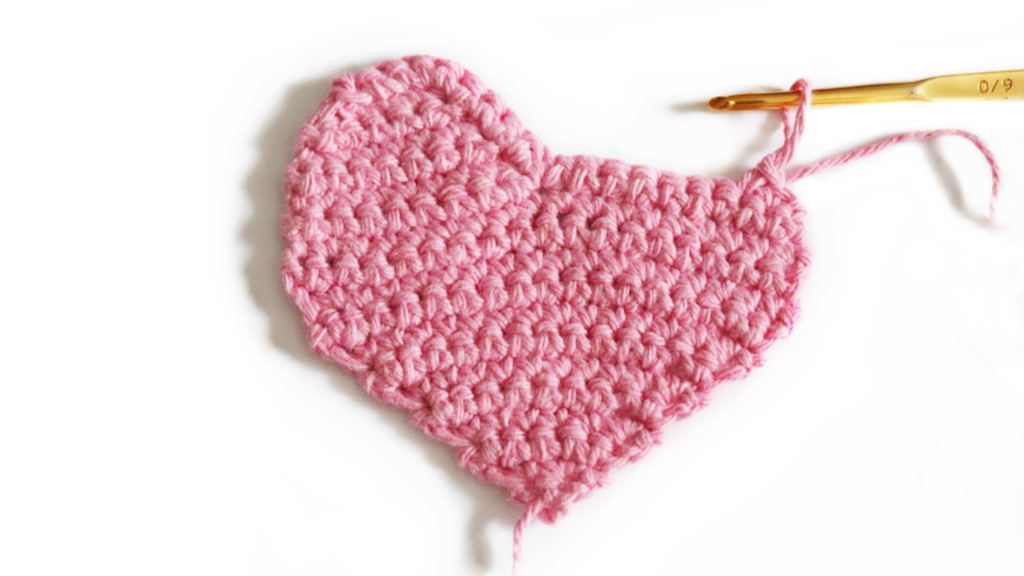
THIRD PART – Right Curve
Continue using the yarn.
R14–R15: Turn. SC next 9 (9)
R16: Turn. SC next 7, DEC (8)
R17: Turn. SC next 6, DEC (7)
R18: Turn. SC next 5, DEC (6)
R19: Turn. SC next 4, DEC (5)
R20: Turn. DEC, 2 SC, INC, 2 SL ST
Fasten off and cut yarn. Hide the yarn end using yarn needle.
Border
Use 3-ply acrylic yarn and 2.5 mm crochet hook
R1: Join yarn at any starting point you prefer.
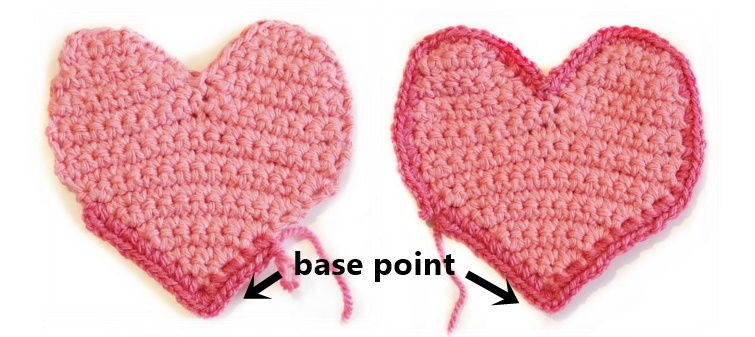
Then, work INC SC evenly around the heart.
EXCEPT ⚠️ At the heart point (base), work: [2 SC, CH 1, 2 SC] in the same stitch.
Explanation: In the photo below, I started joining the new yarn at the left side and worked around. When I reached to the base point, I made 2 SC, CH1, 2 SC in it.
R2 (Curly Edge): SC 1, CH 1, SC around the border.
Fasten off and weave in ends.
Voila! You did it!
A Note from Angie
Dearest Crocheter,
Congrats for finishing the pattern. I thank you for choosing this pattern and hope that you had fun making your Heart Mug Coaster with ease and joy. If you need help or have questions at any point, please reach out — I’m always happy to assist.
Don’t forget to share your makes and tag #Woolshie or #CrochetCollections on Instagram and Facebook — I’d love to see your beautiful creations!
Enjoy your heart coaster — perfect on its own, as a gift, or in sets!
Pattern Support
If you need help and assistance or want to ask questions about the pattern, please contact us on our contact page. If you choose to modify the pattern or use a different yarn weight or crochet hook size, you can share your questions to our Facebook WCC Woolshie Crochet Club.
Beginner Tips for Success
If this is one of your first crochet projects, keep these tips in mind:
- Count your stitches at the end of each row
- Use a stitch marker to track row ends
- Maintain even tension for a flat finish
- Take your time — small projects are perfect for practice
Crochet is meant to be relaxing, so don’t worry about perfection. Each piece you make helps build confidence and skill.
Accessibility Statement
This crochet pattern is written in clear, beginner-friendly language and designed to be accessible for a wide range of crocheters.
Explore More
If you enjoyed this Heart Mug Crochet Pattern, you may also like exploring other beginner crochet patterns available on Woolshie. Be sure to bookmark this page or share it with fellow crocheters who love quick and cozy handmade projects.
- Upcoming crochet projects for seasonal crochet and cozy handmade gifts
- Macy the Little Mouse Easy Crochet Pattern
- Mini Horse Lunar New Year Beginner-friendly Crochet Pattern
- Tiny Donuts Very Easy Crochet Pattern
- See all Crochet Patterns
Be sure to bookmark this page or share it with fellow crocheters who love quick, charming, and enjoyable crochet projects, especially this little mouse crochet pattern.
Looking for a Crochet Buddy?
Let’s get connected! I would love to be your crochet buddy, sharing crochet WIPS and finished makes!
Total Beginner to Crochet?
Don’t worry! At Woolshie, crochet tutorials and beginner course are available for free.